
This is an illustration of the recipe, not the production path. It uses a self-signed Digital ID and a local proxy on one machine. To build a real setup, use choose your setup and the DocuSeal tutorial.
1. Prerequisites
Part A (sign):
-
Adobe Acrobat for Windows.
-
A sample PDF.
Part B (timestamp), in addition:
-
Docker, to run the local timestamp proxy.
-
An Evidency sandbox project: a project ID and an API key. See the Evidency timestamping service documentation.
2. Create a Digital ID in Acrobat
Part A. Chain 2: integrity. See the recipe.
A Digital ID holds the certificate and private key used to sign. Acrobat can create a self-signed one for testing.
-
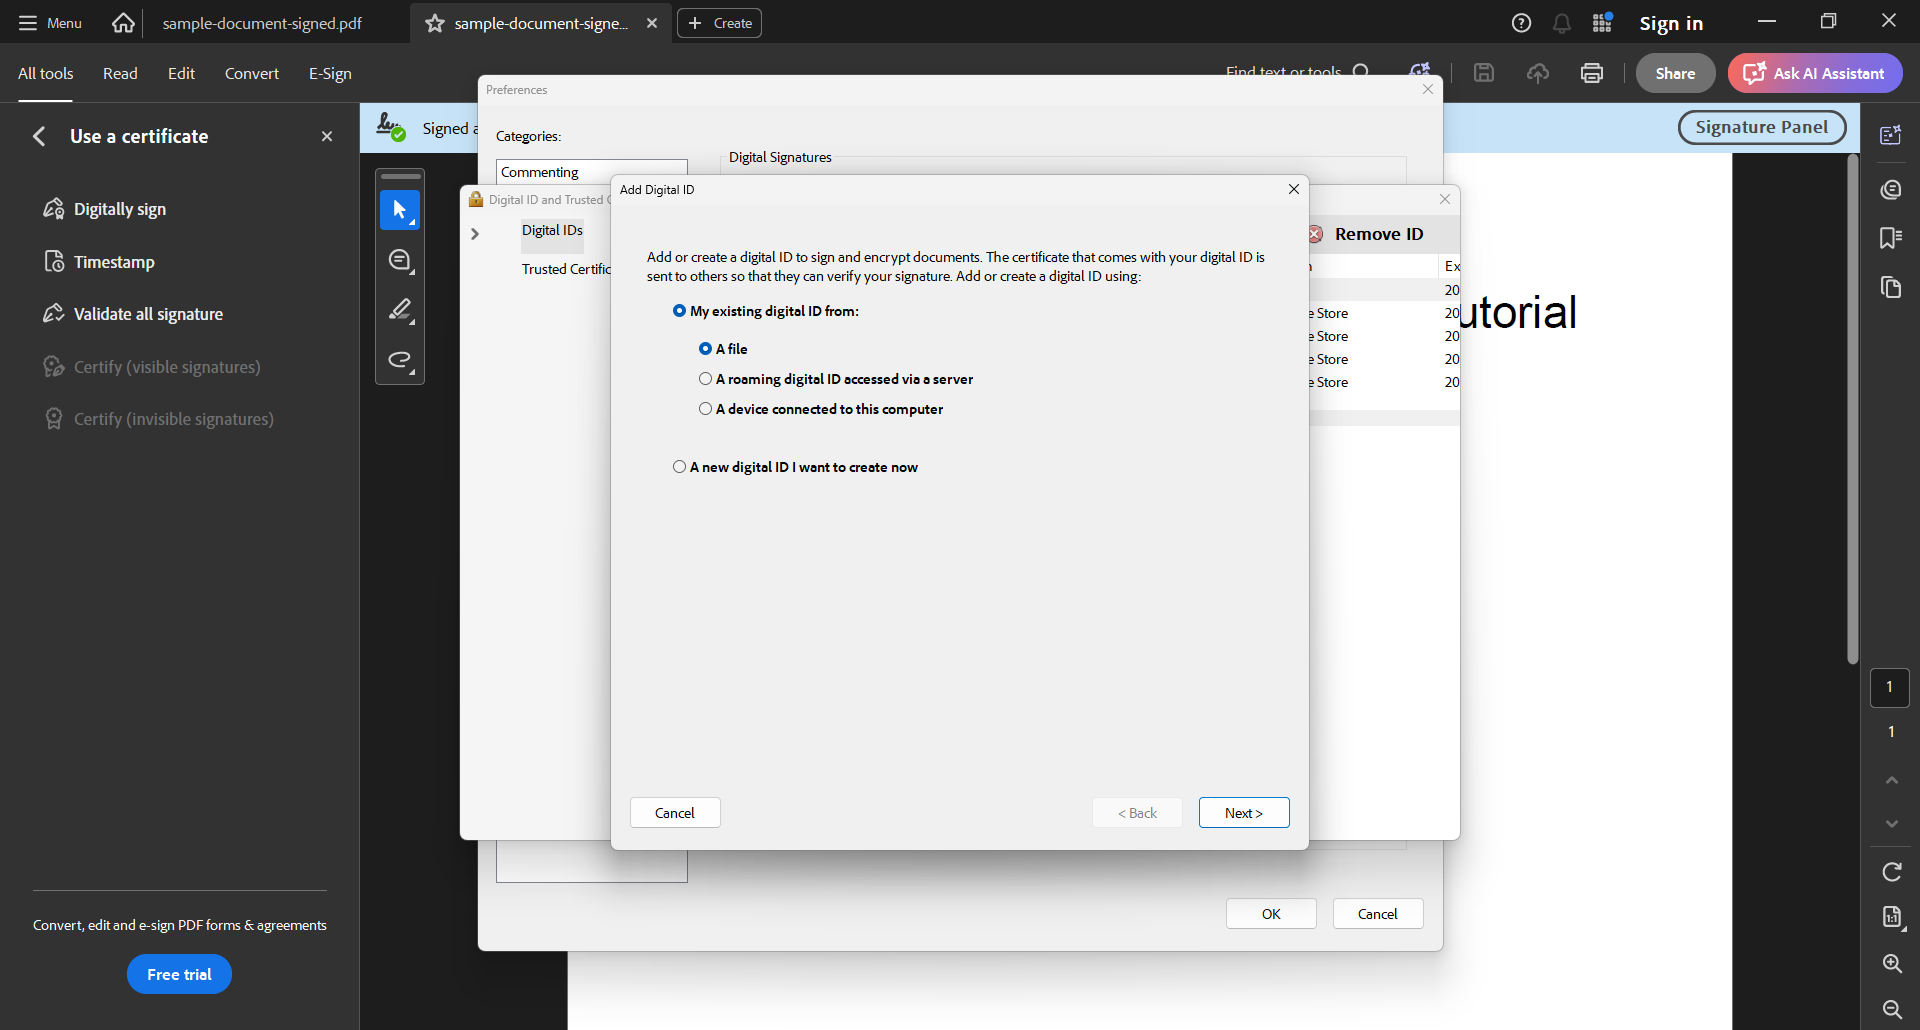
Press Ctrl+K to open Preferences. Select Signatures. Under Identities & Trusted Certificates, select More. Select Digital IDs, then select the Add ID icon.
-
In the Add Digital ID dialog, select A new digital ID I want to create now, then select Next.
-
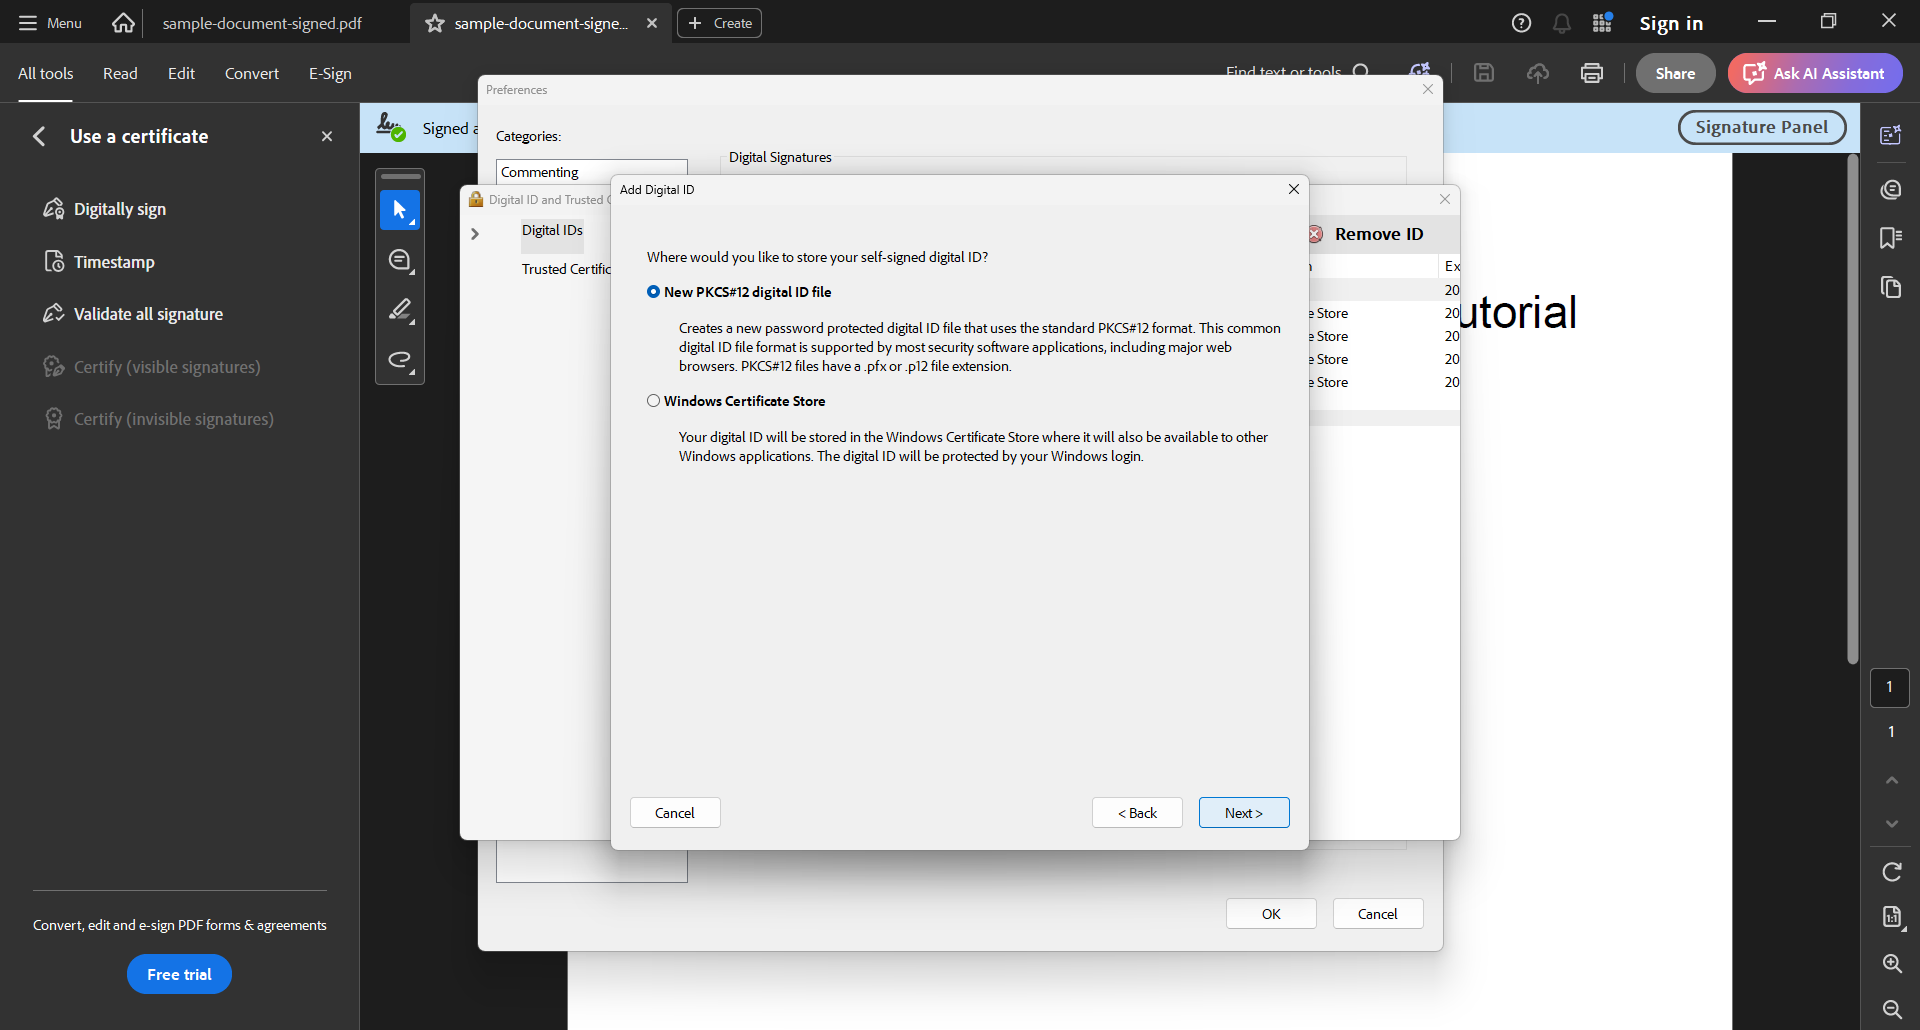
Keep New PKCS#12 digital ID file selected, then select Next.
-
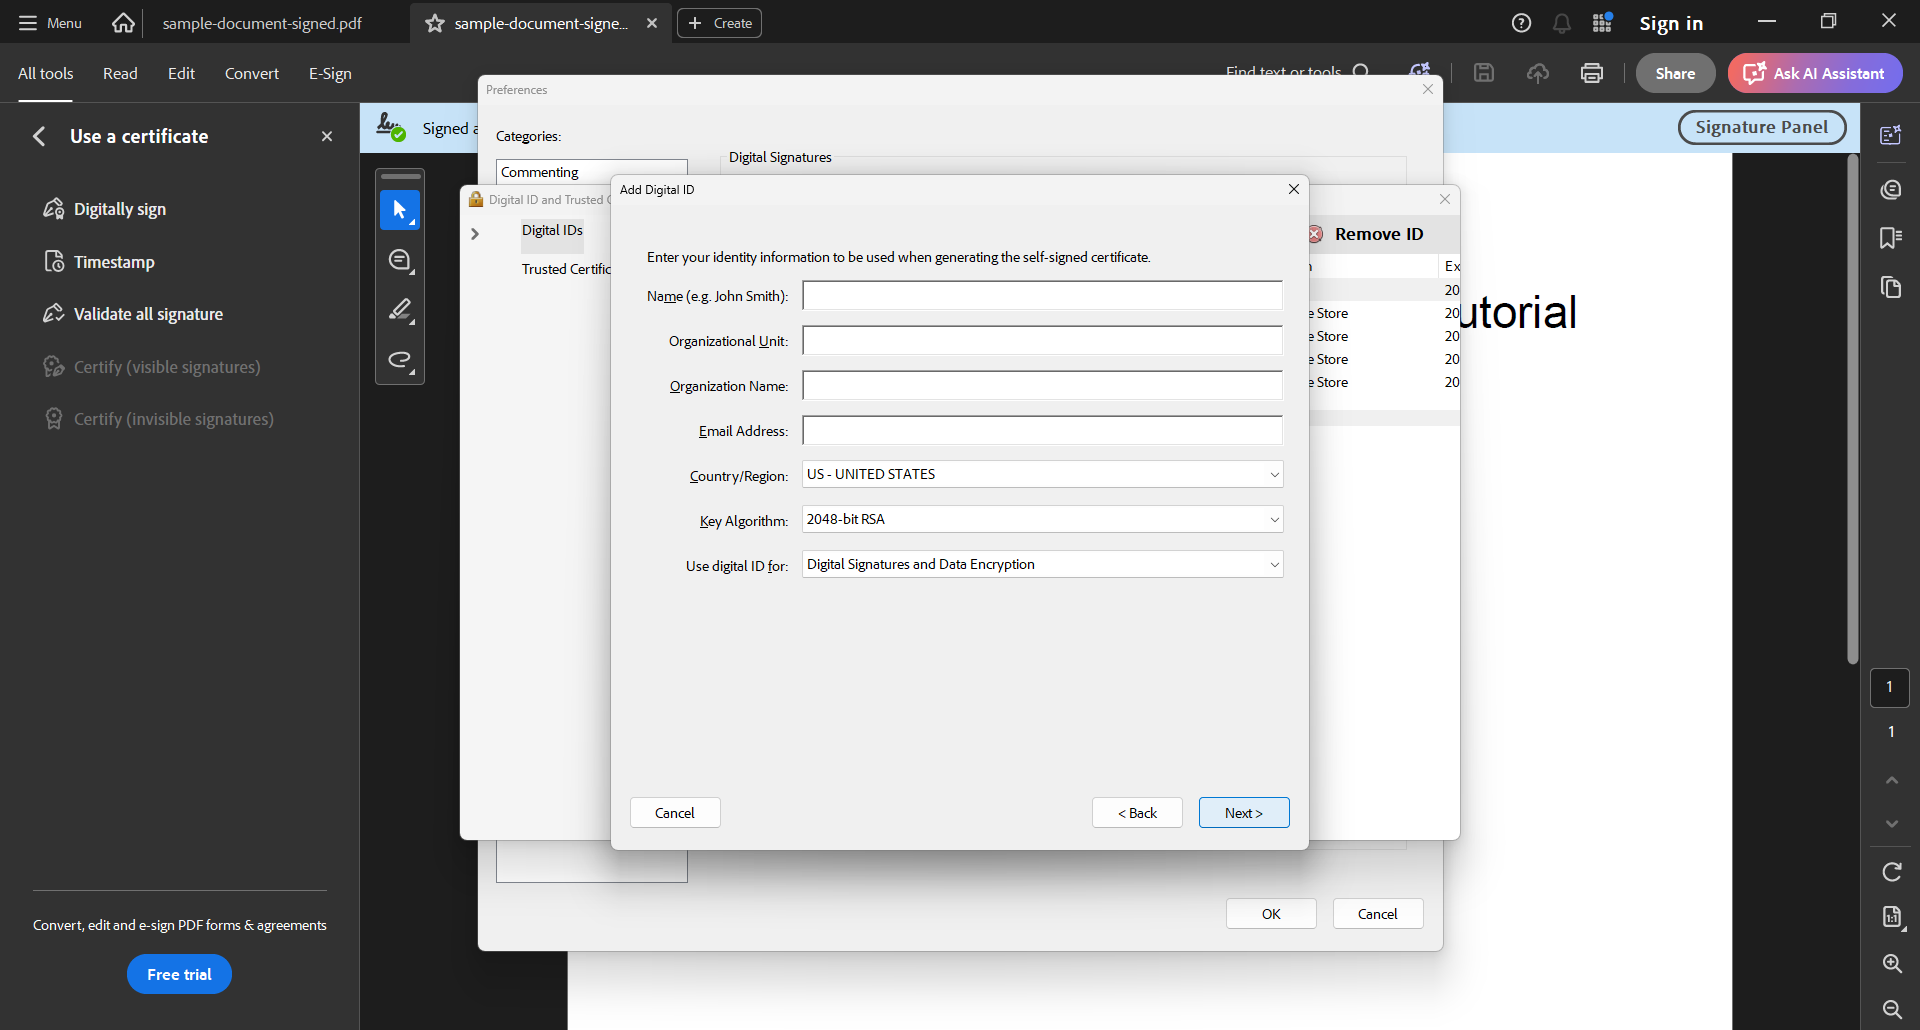
Fill in the identity fields, then select Next.
-
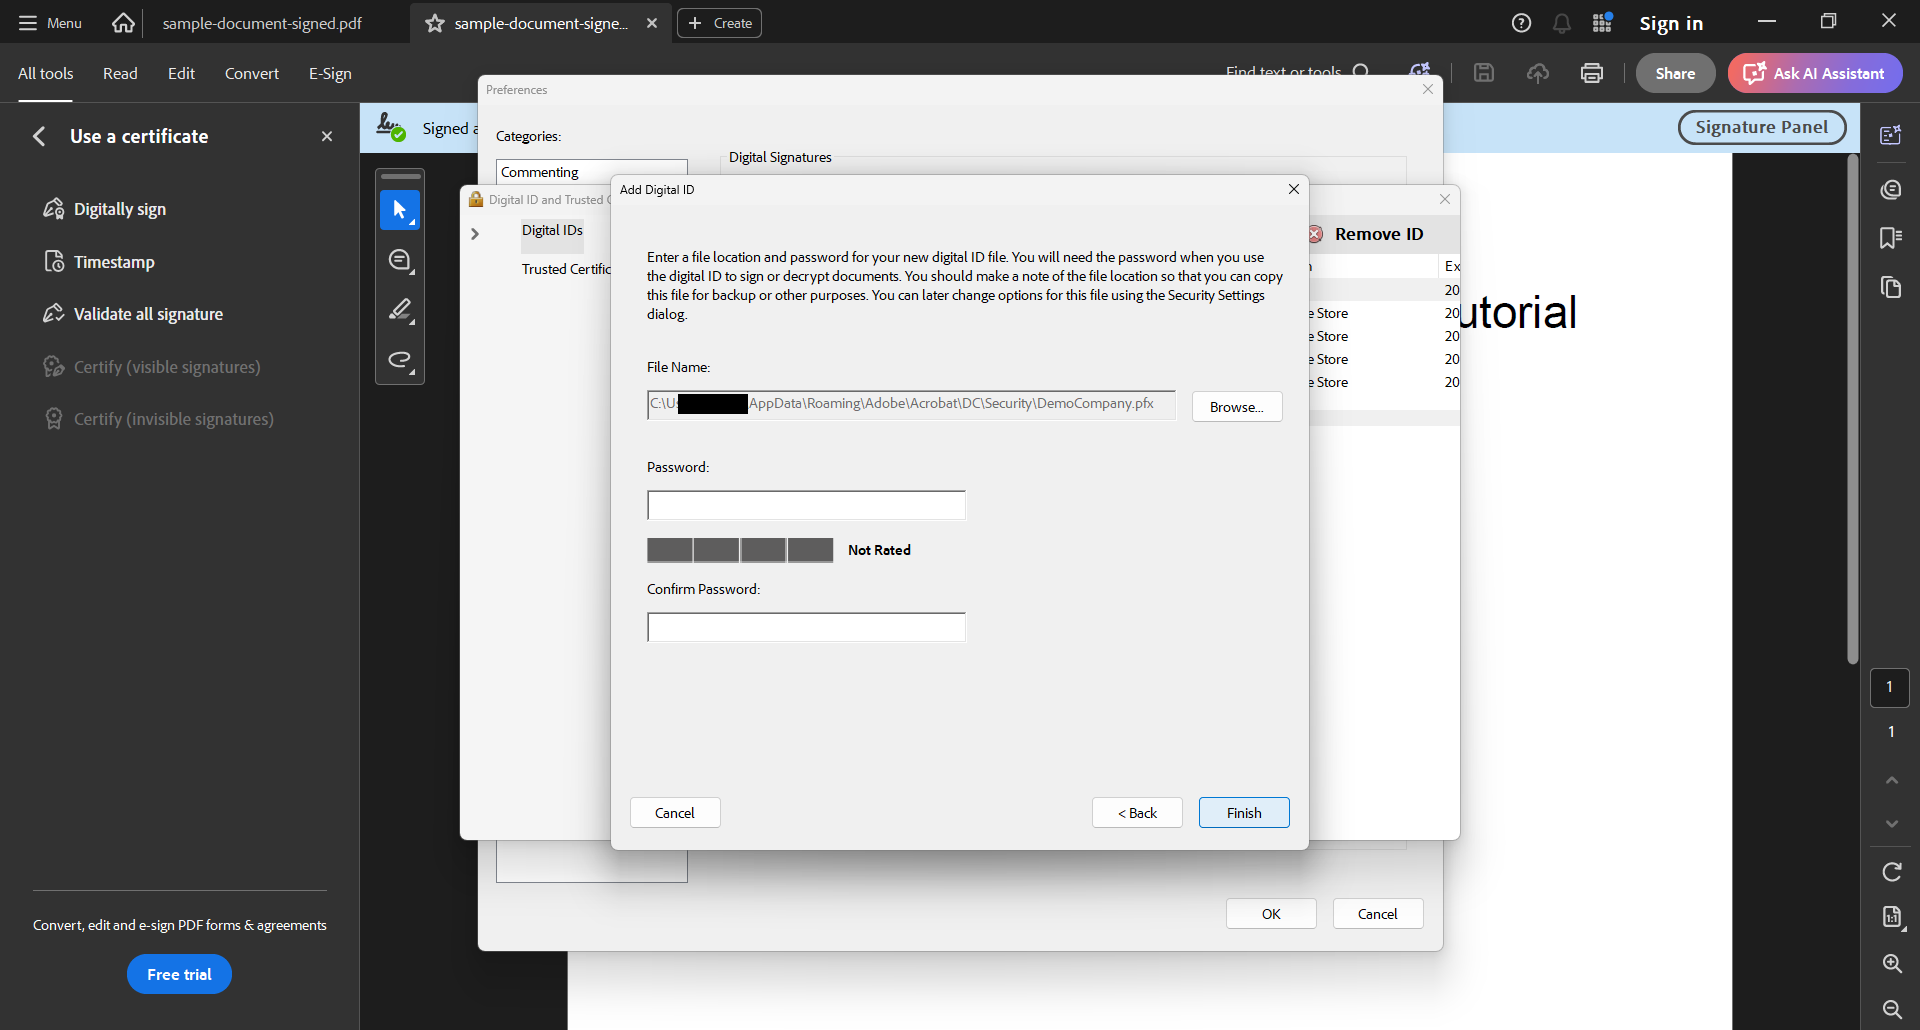
Choose the file location for the
.pfxfile. Enter a strong password in Password and Confirm Password. Remember it, because you will need it when signing.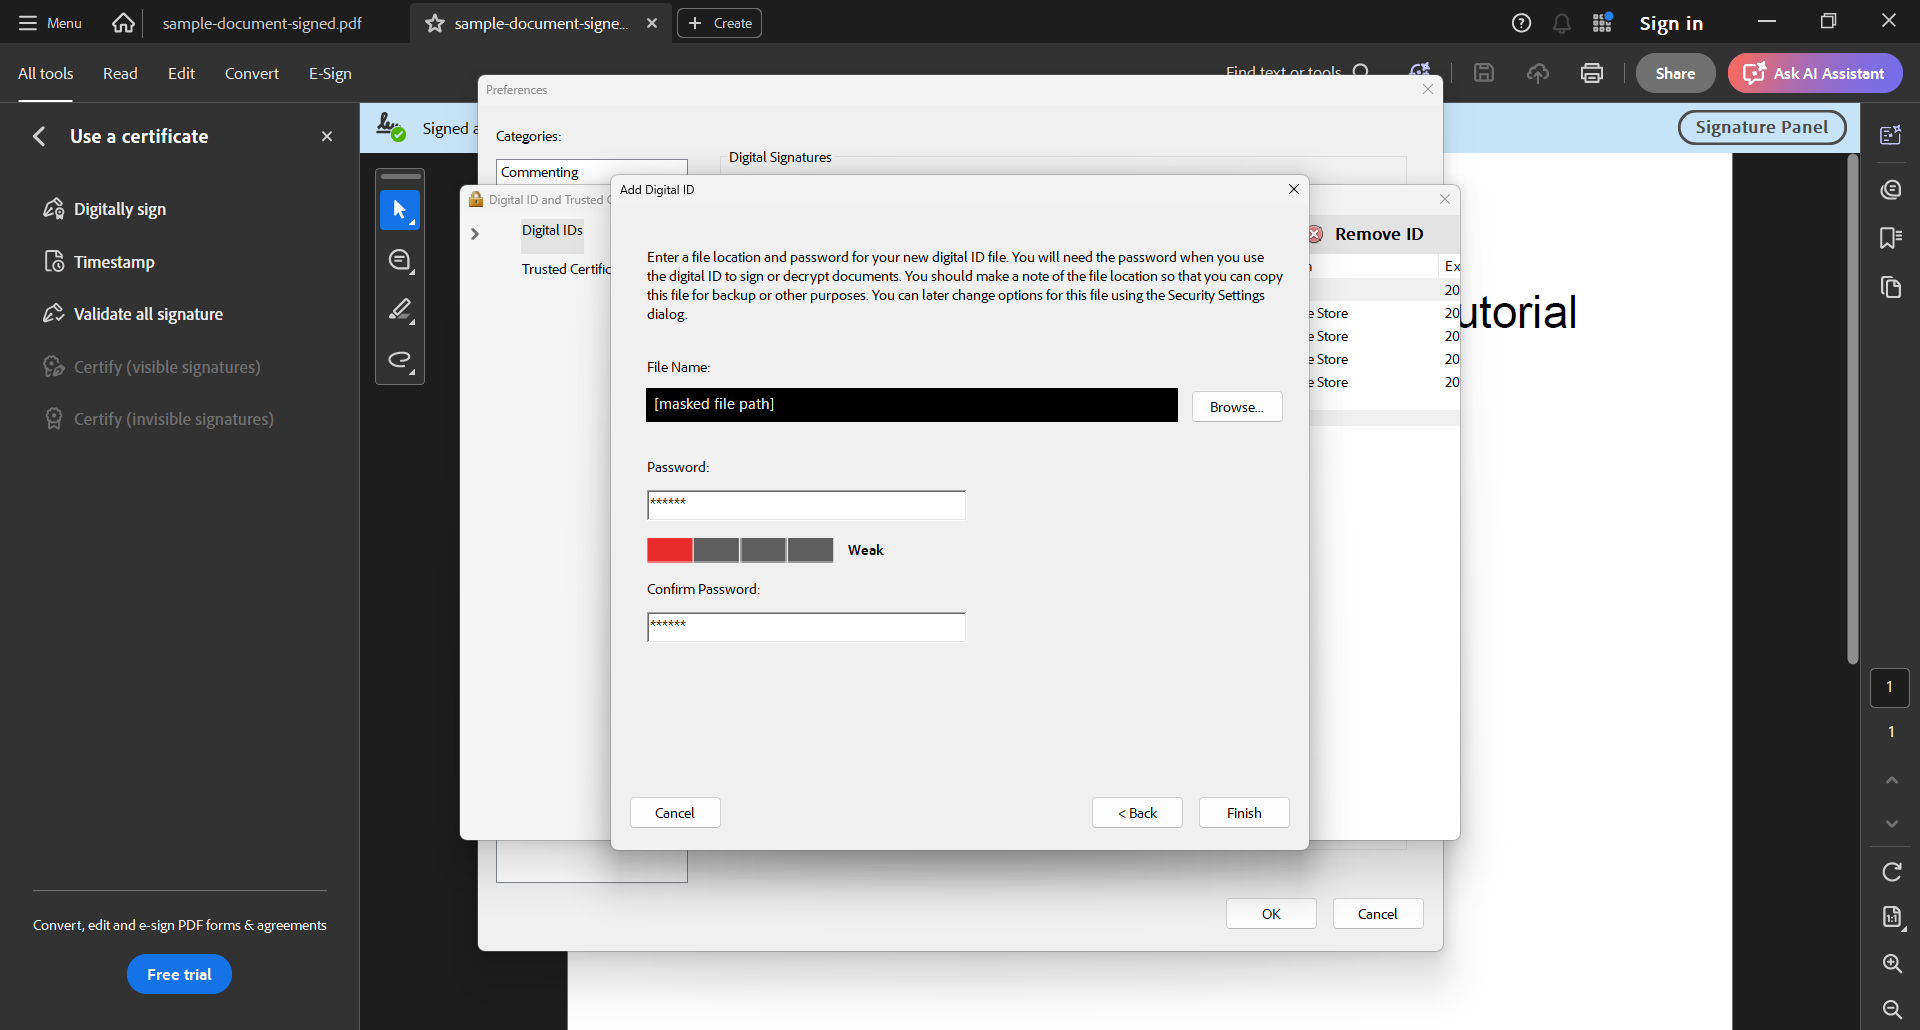
-
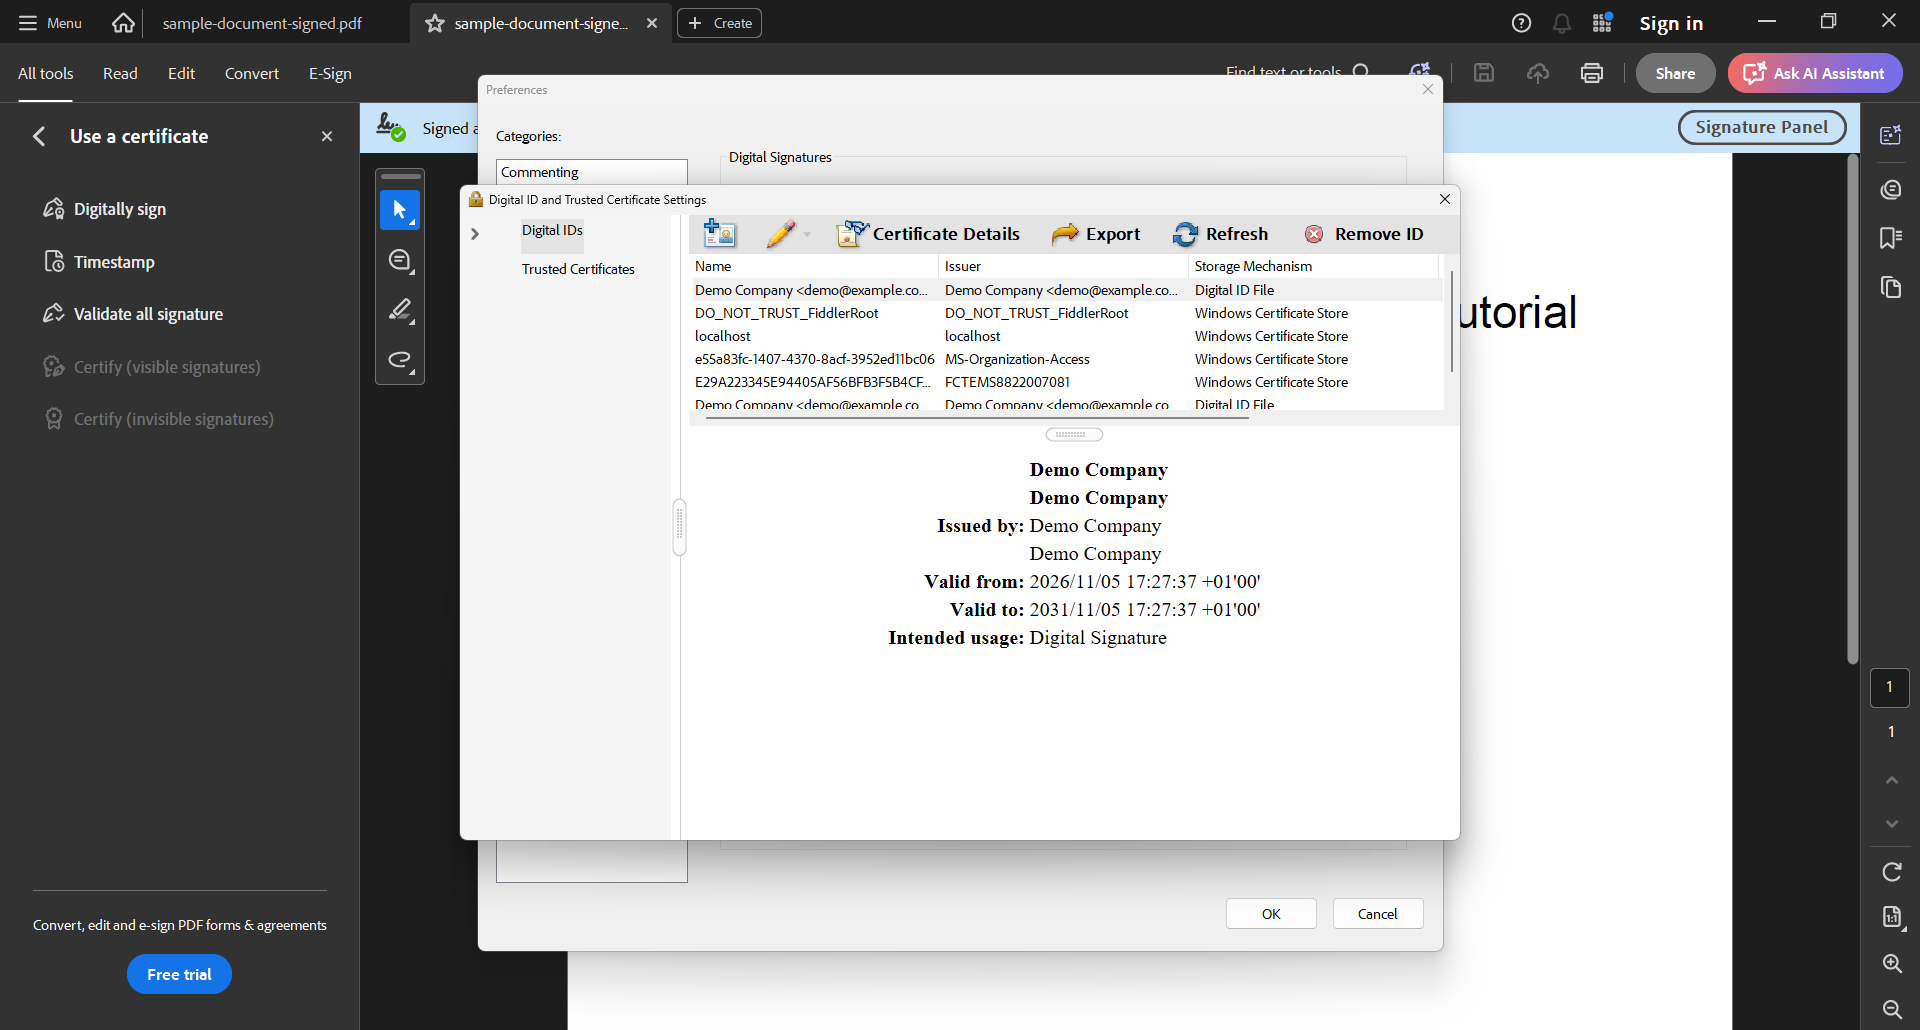
Select Finish. The new ID appears in the Digital IDs list with Digital ID File as its storage mechanism.
3. Sign the PDF in Acrobat
Follow these steps in order.
-
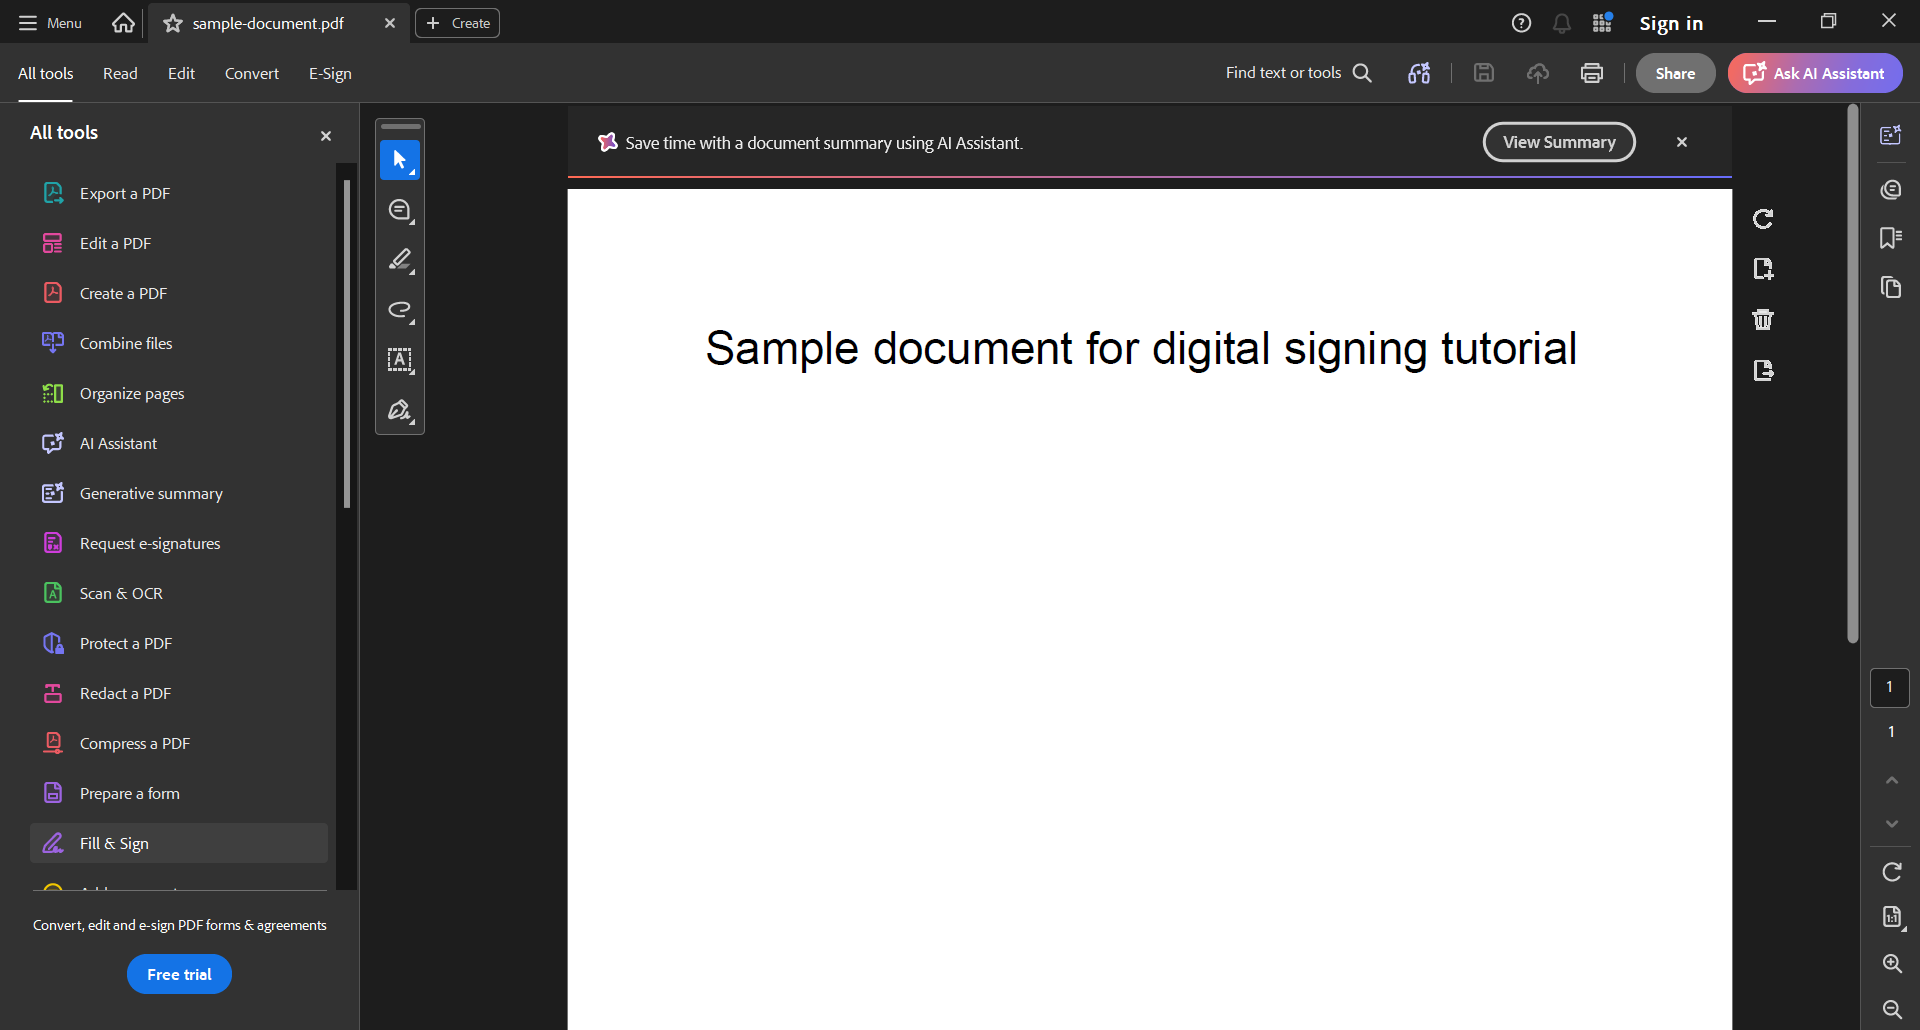
Open Adobe Acrobat. Select All tools on the top menu.
-
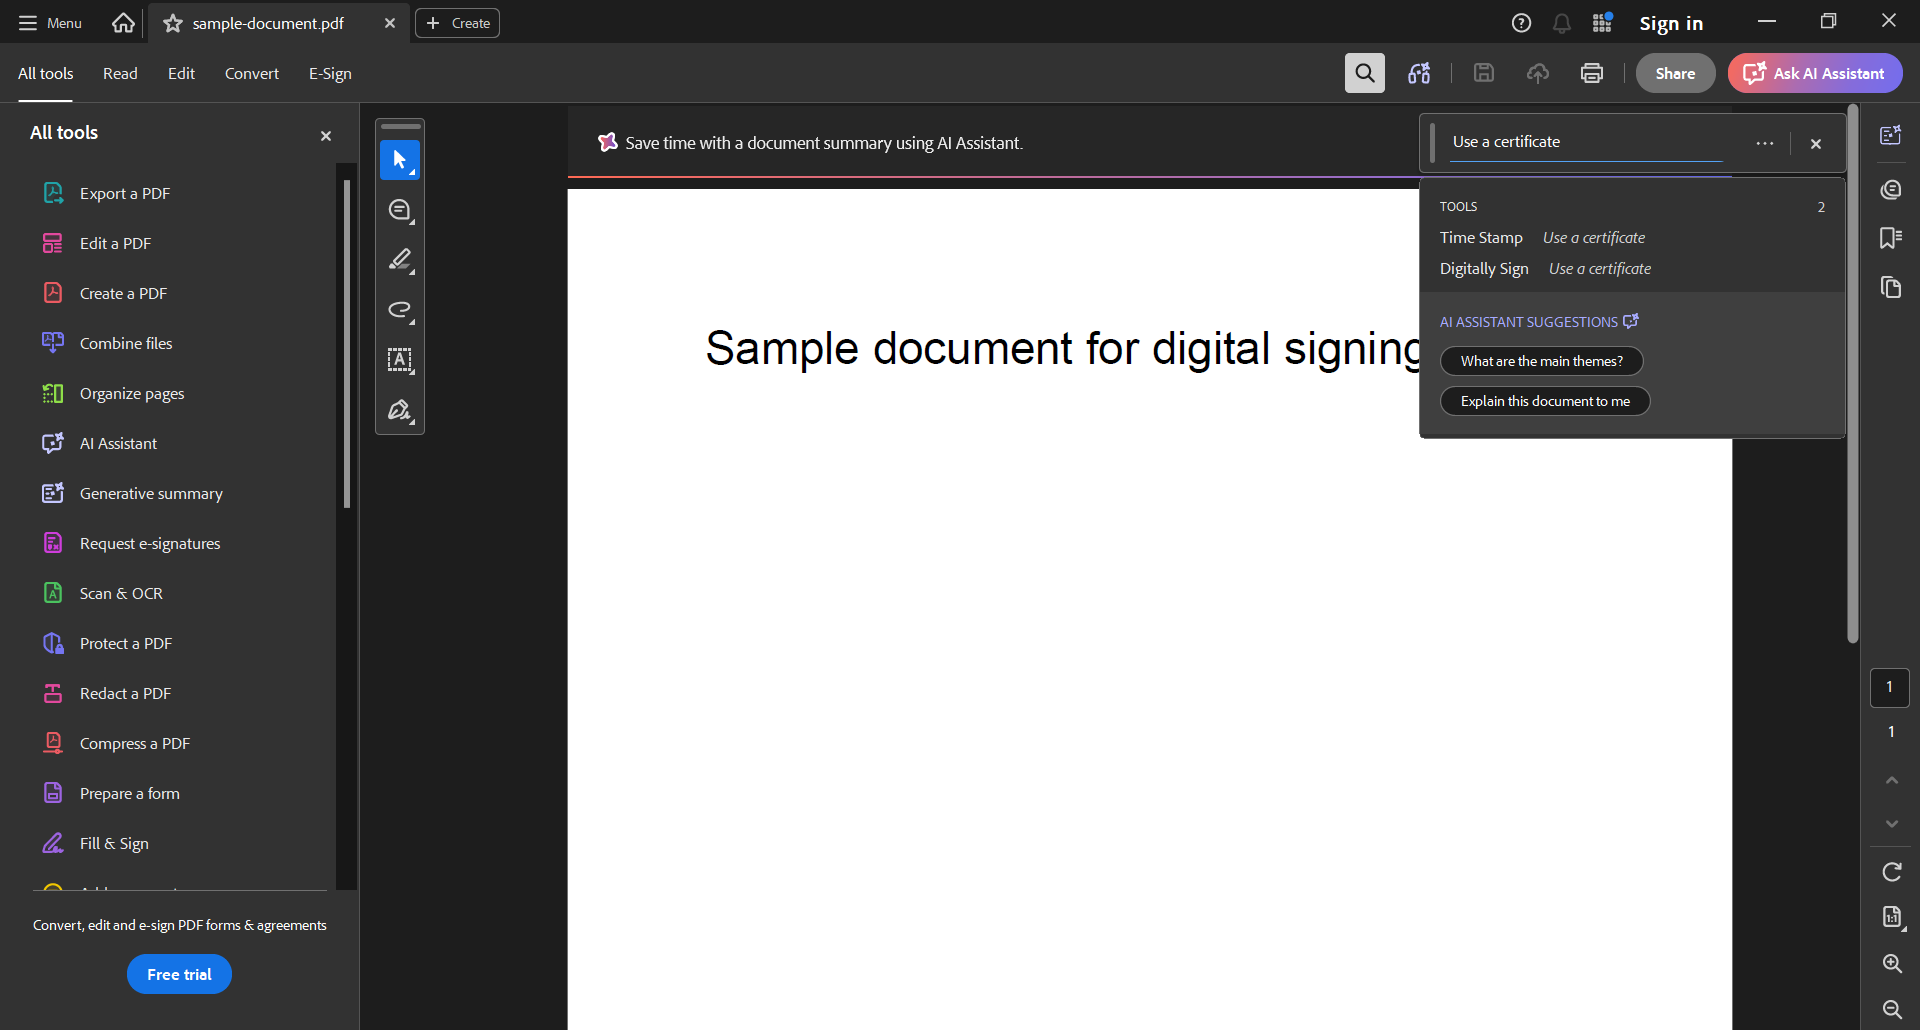
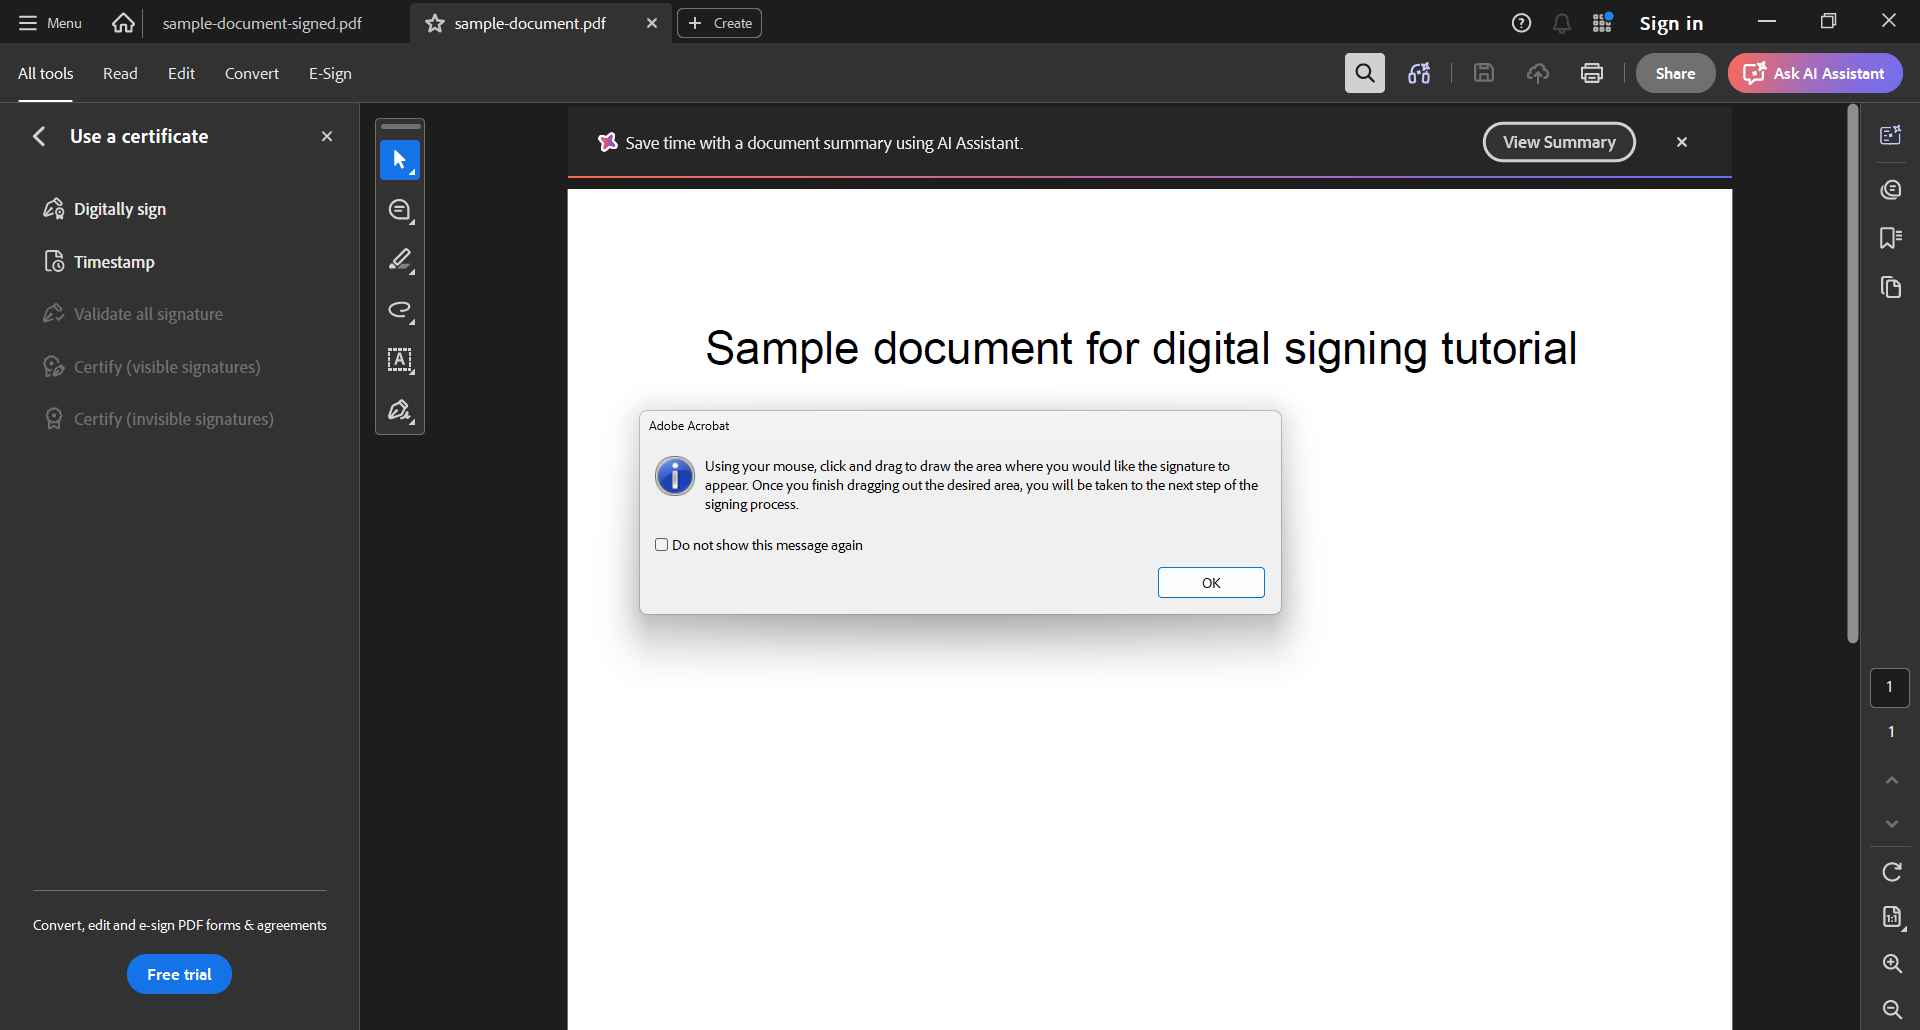
Select Use a certificate. Search for it in the tools search box.
-
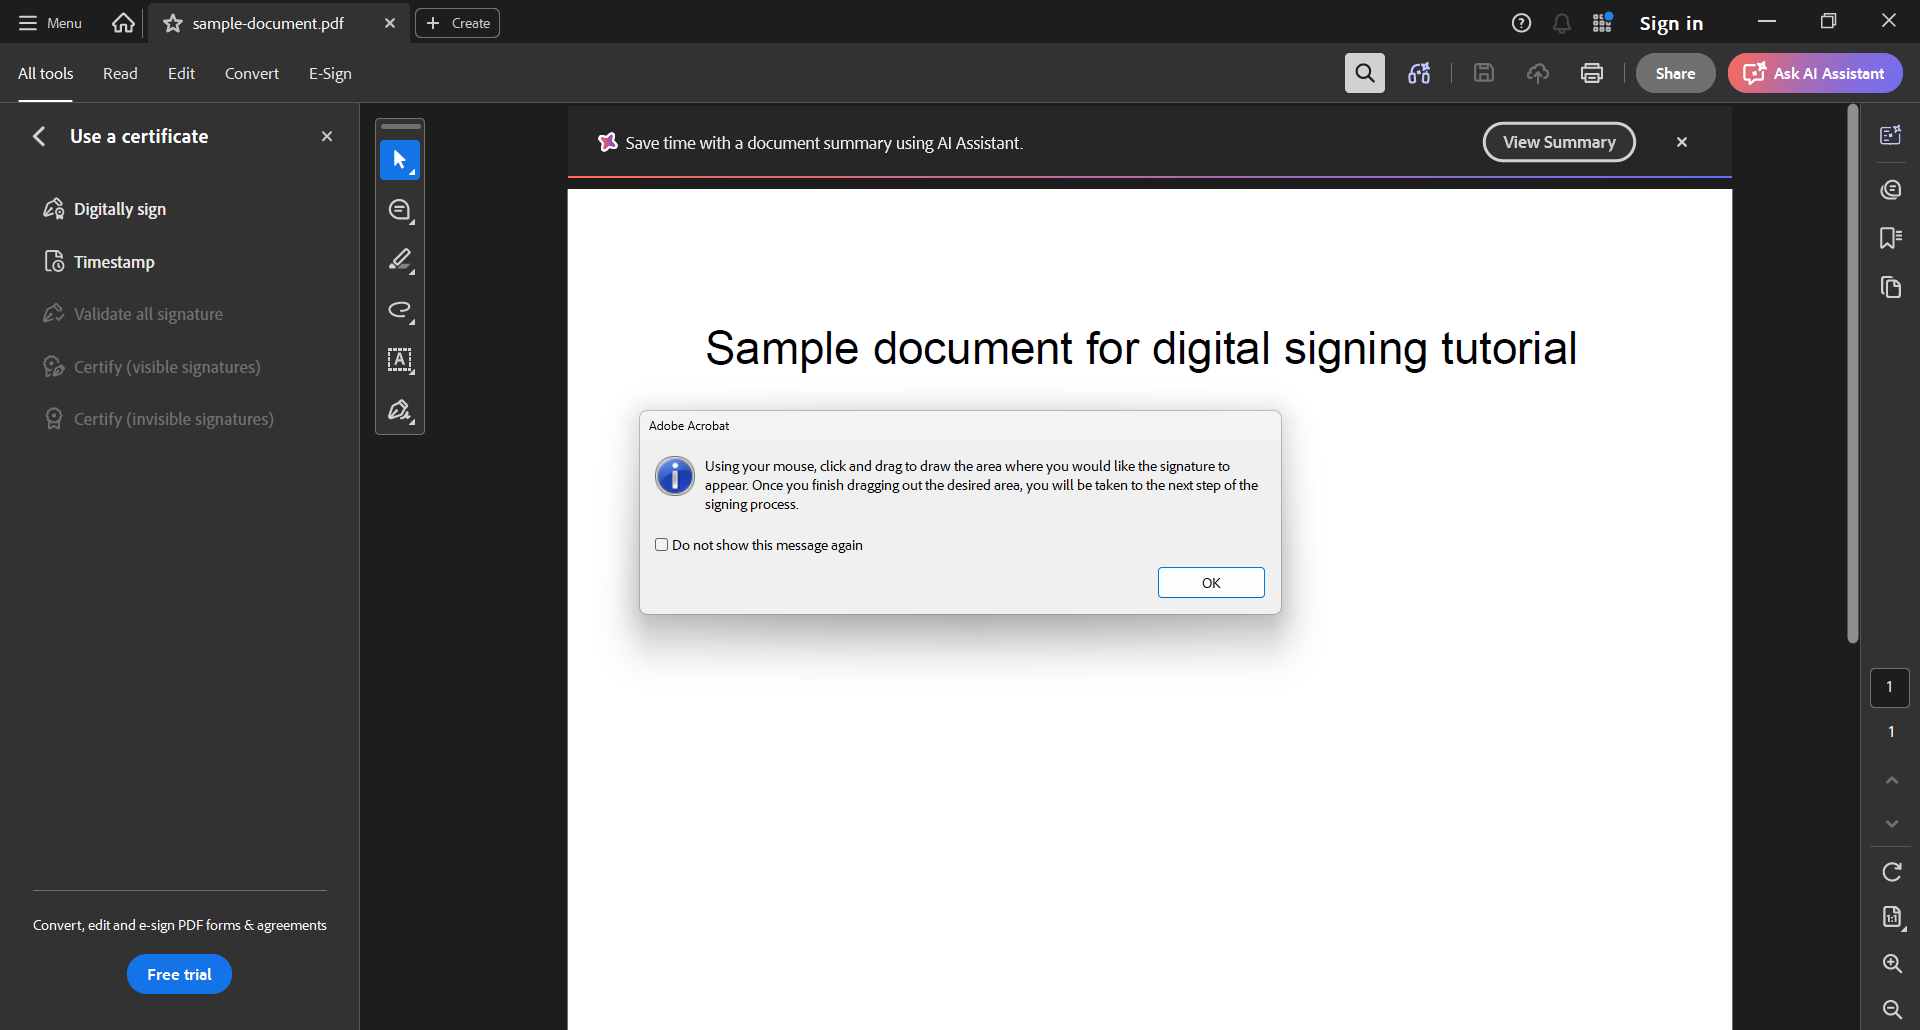
Select Digitally sign.
-
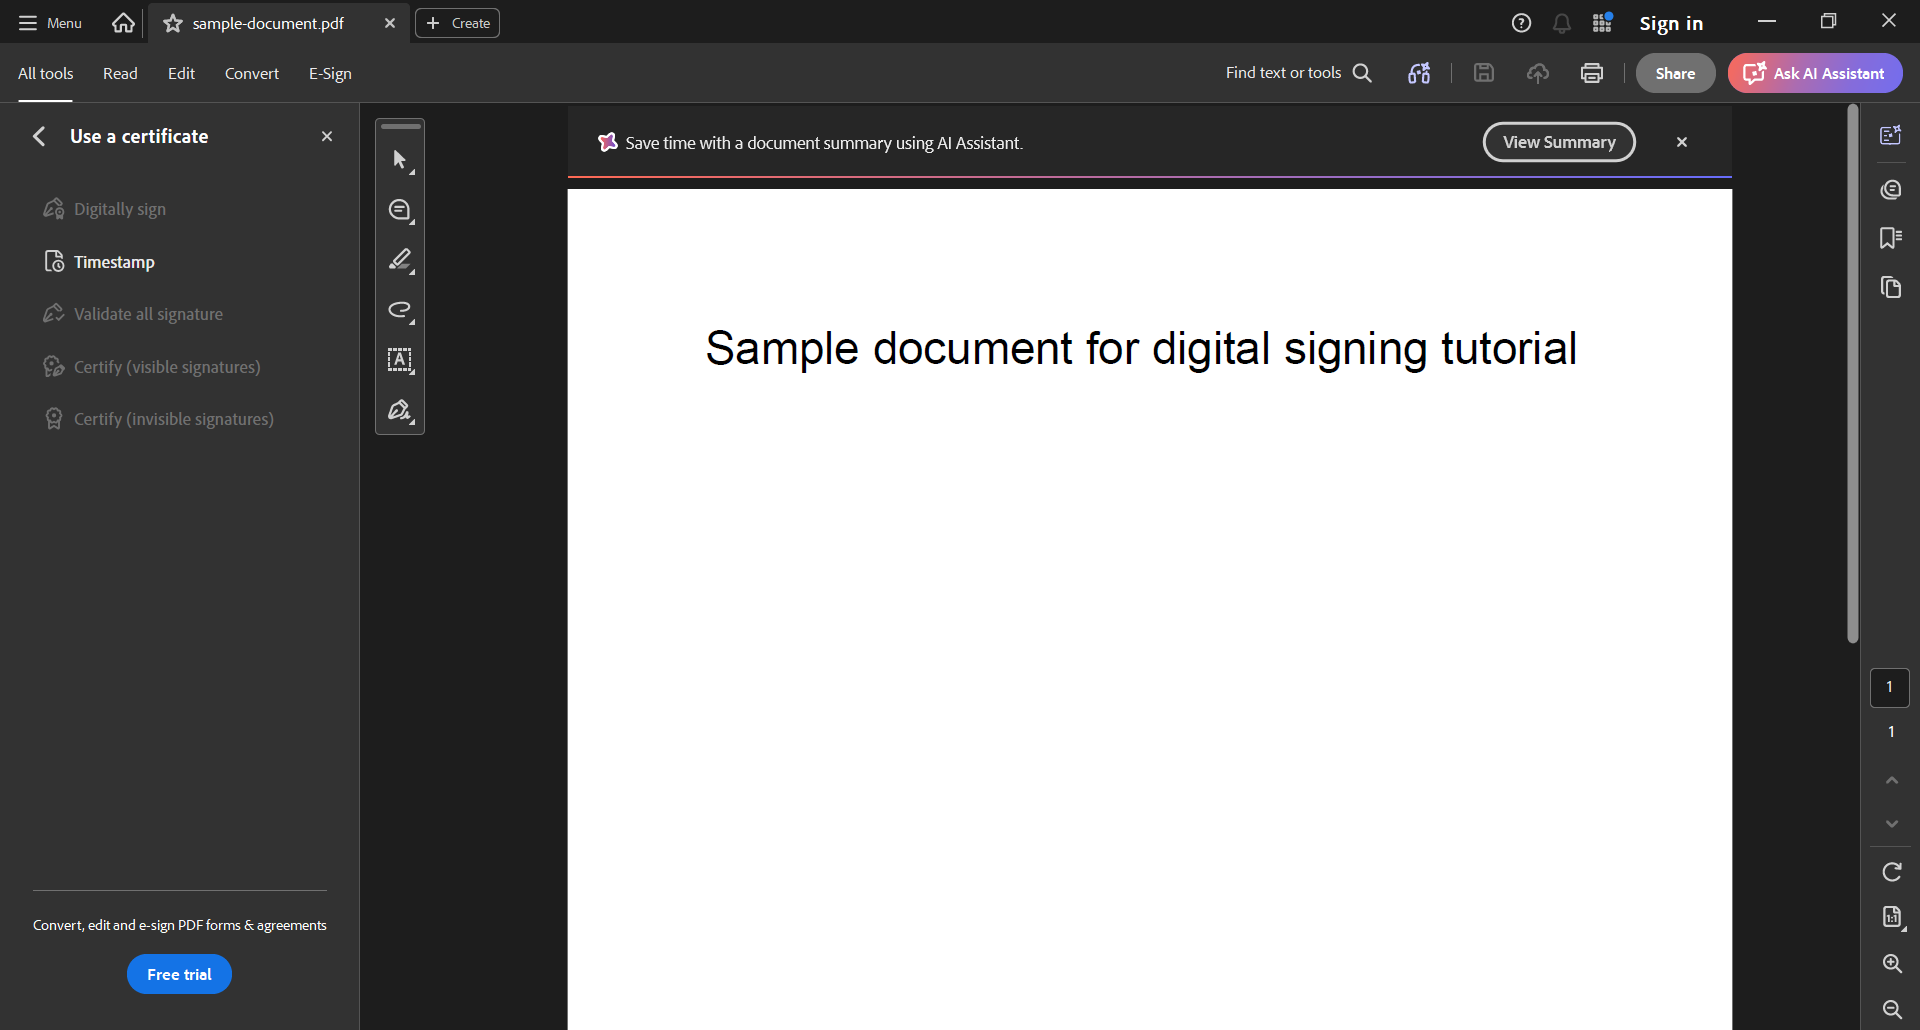
A dialog shows the signing instructions. Select OK.
-
Draw a rectangle on the page where the signature should appear.
-
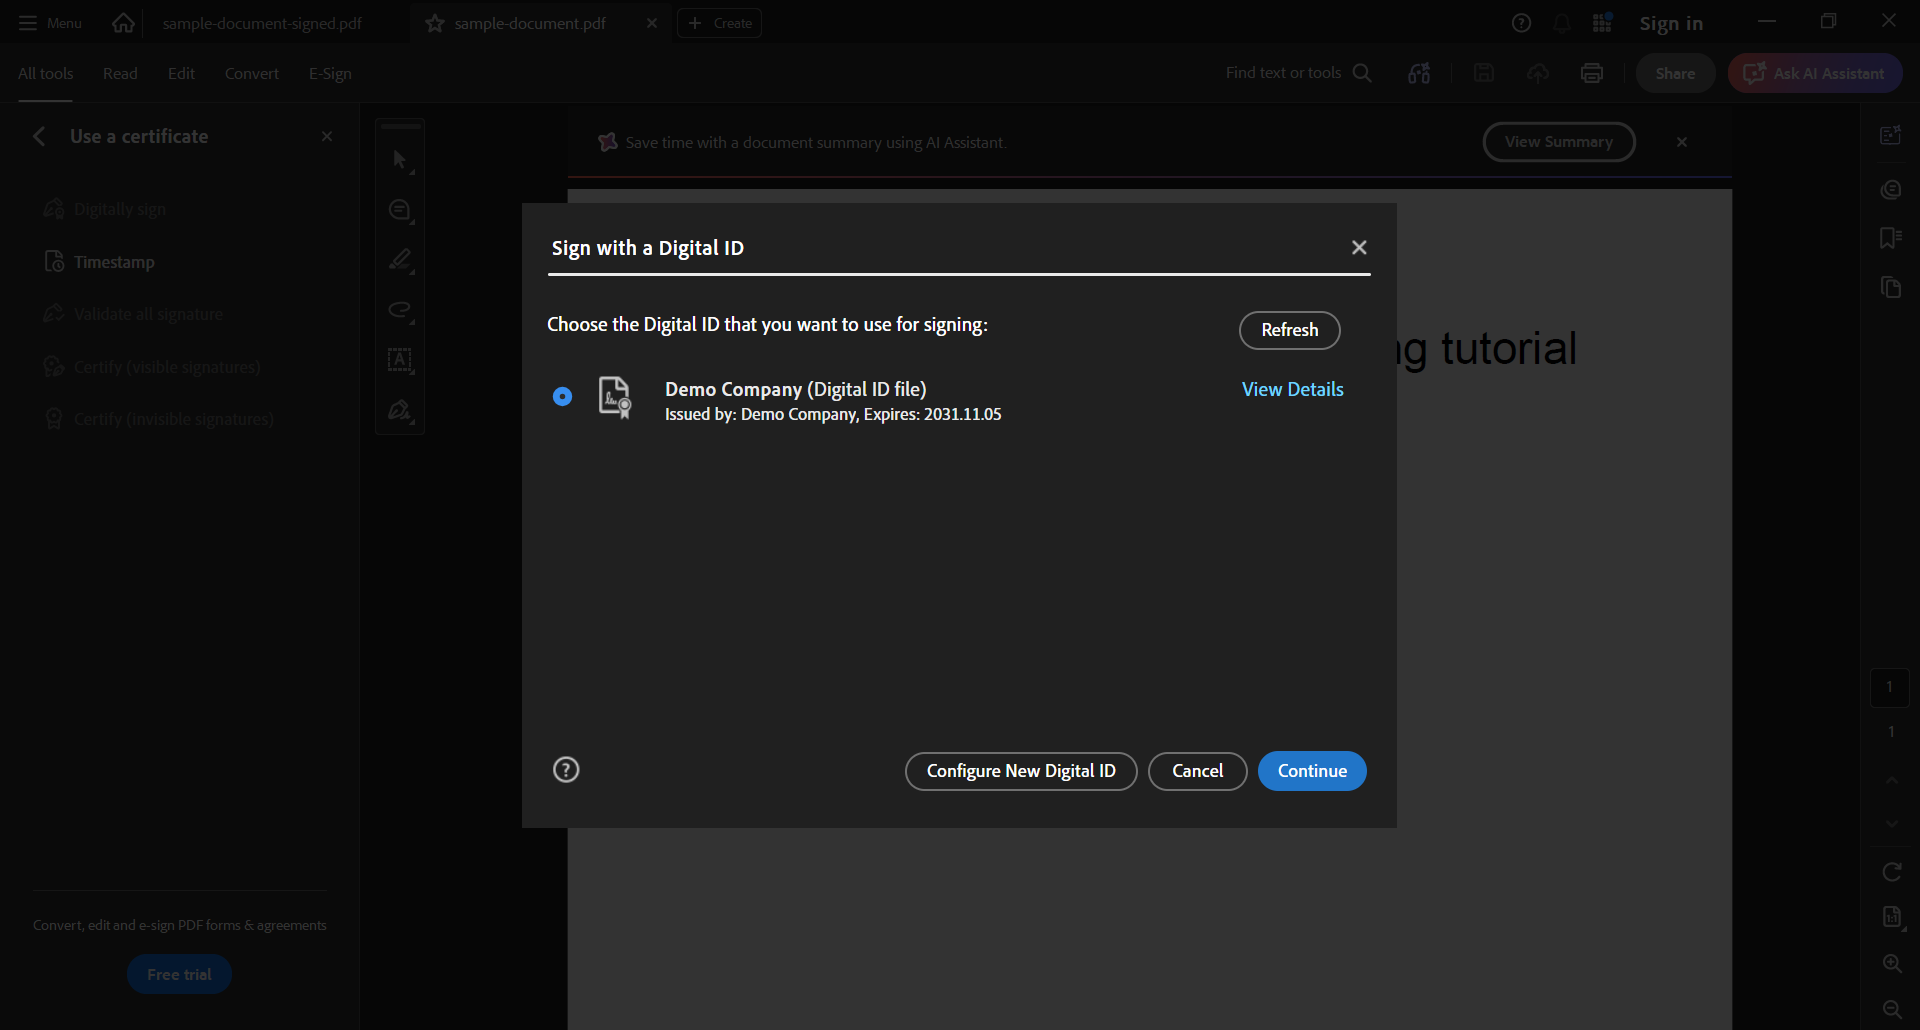
In Sign with a Digital ID, select Demo Company, then select Continue.
-
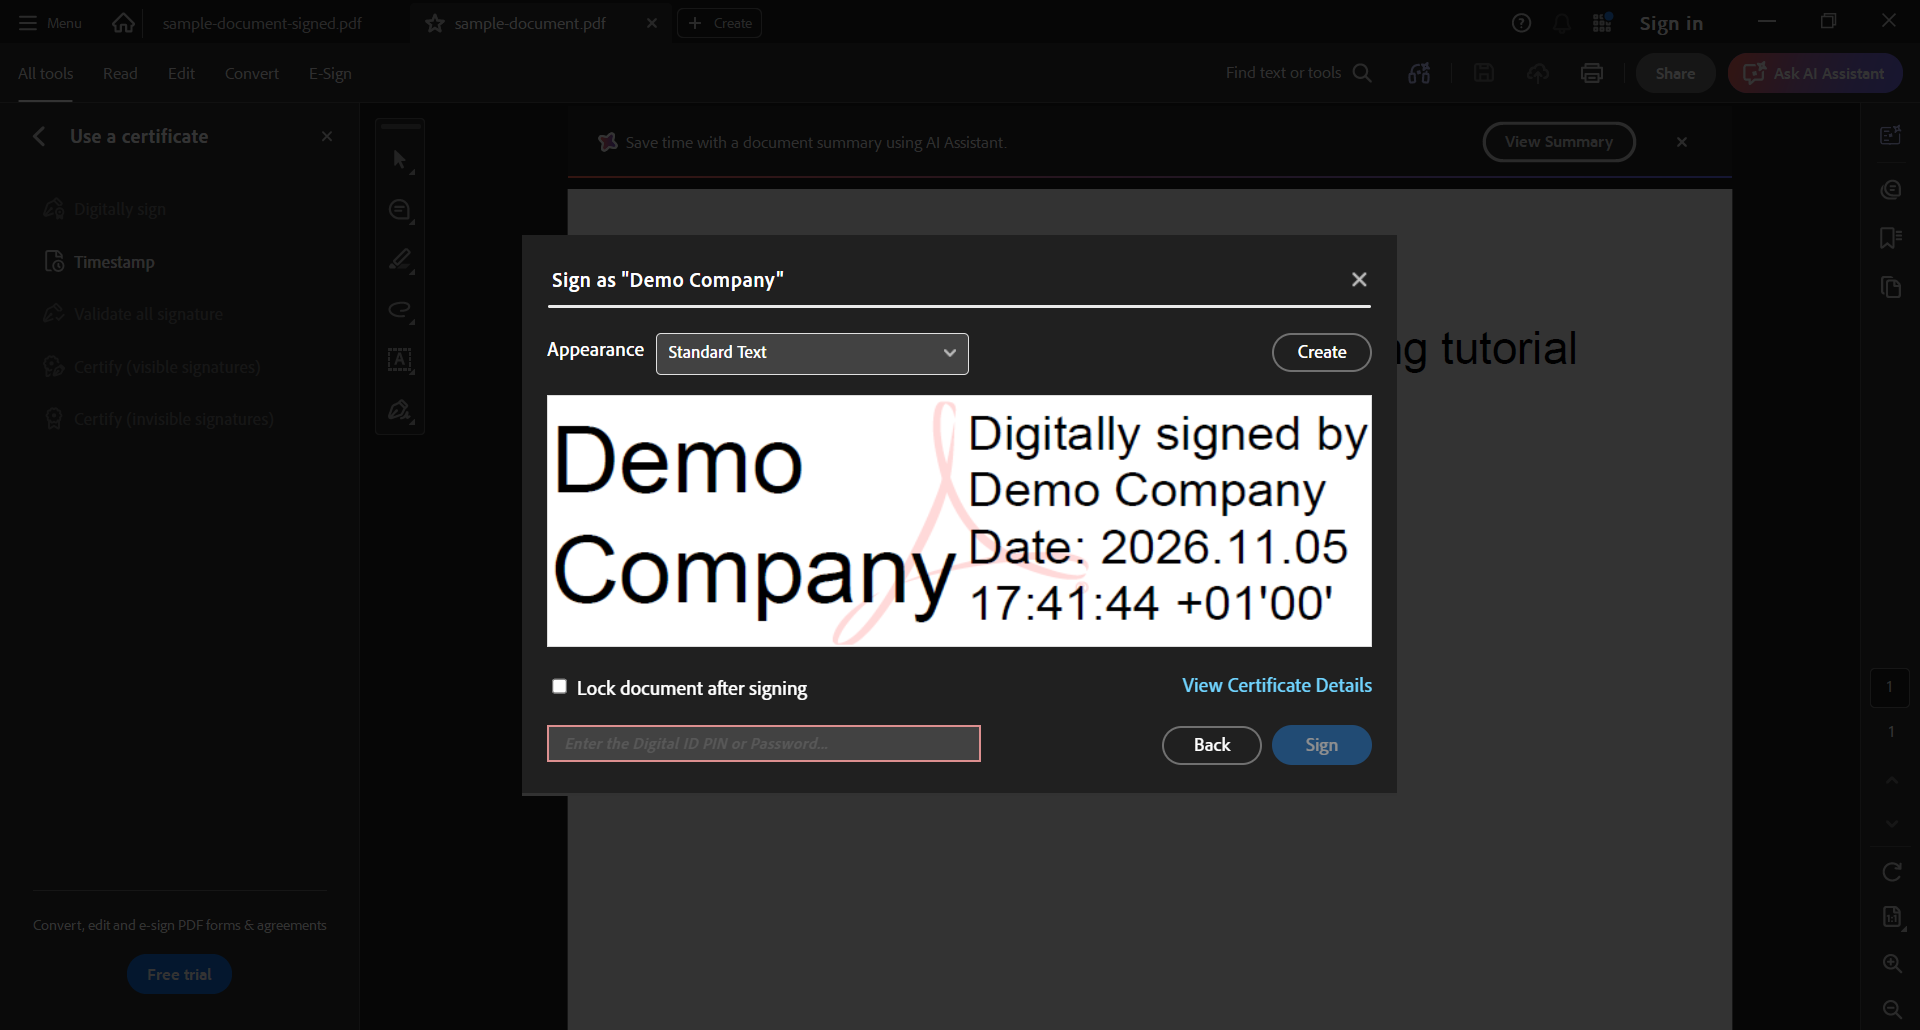
In the Sign as dialog, check the signature details.
-
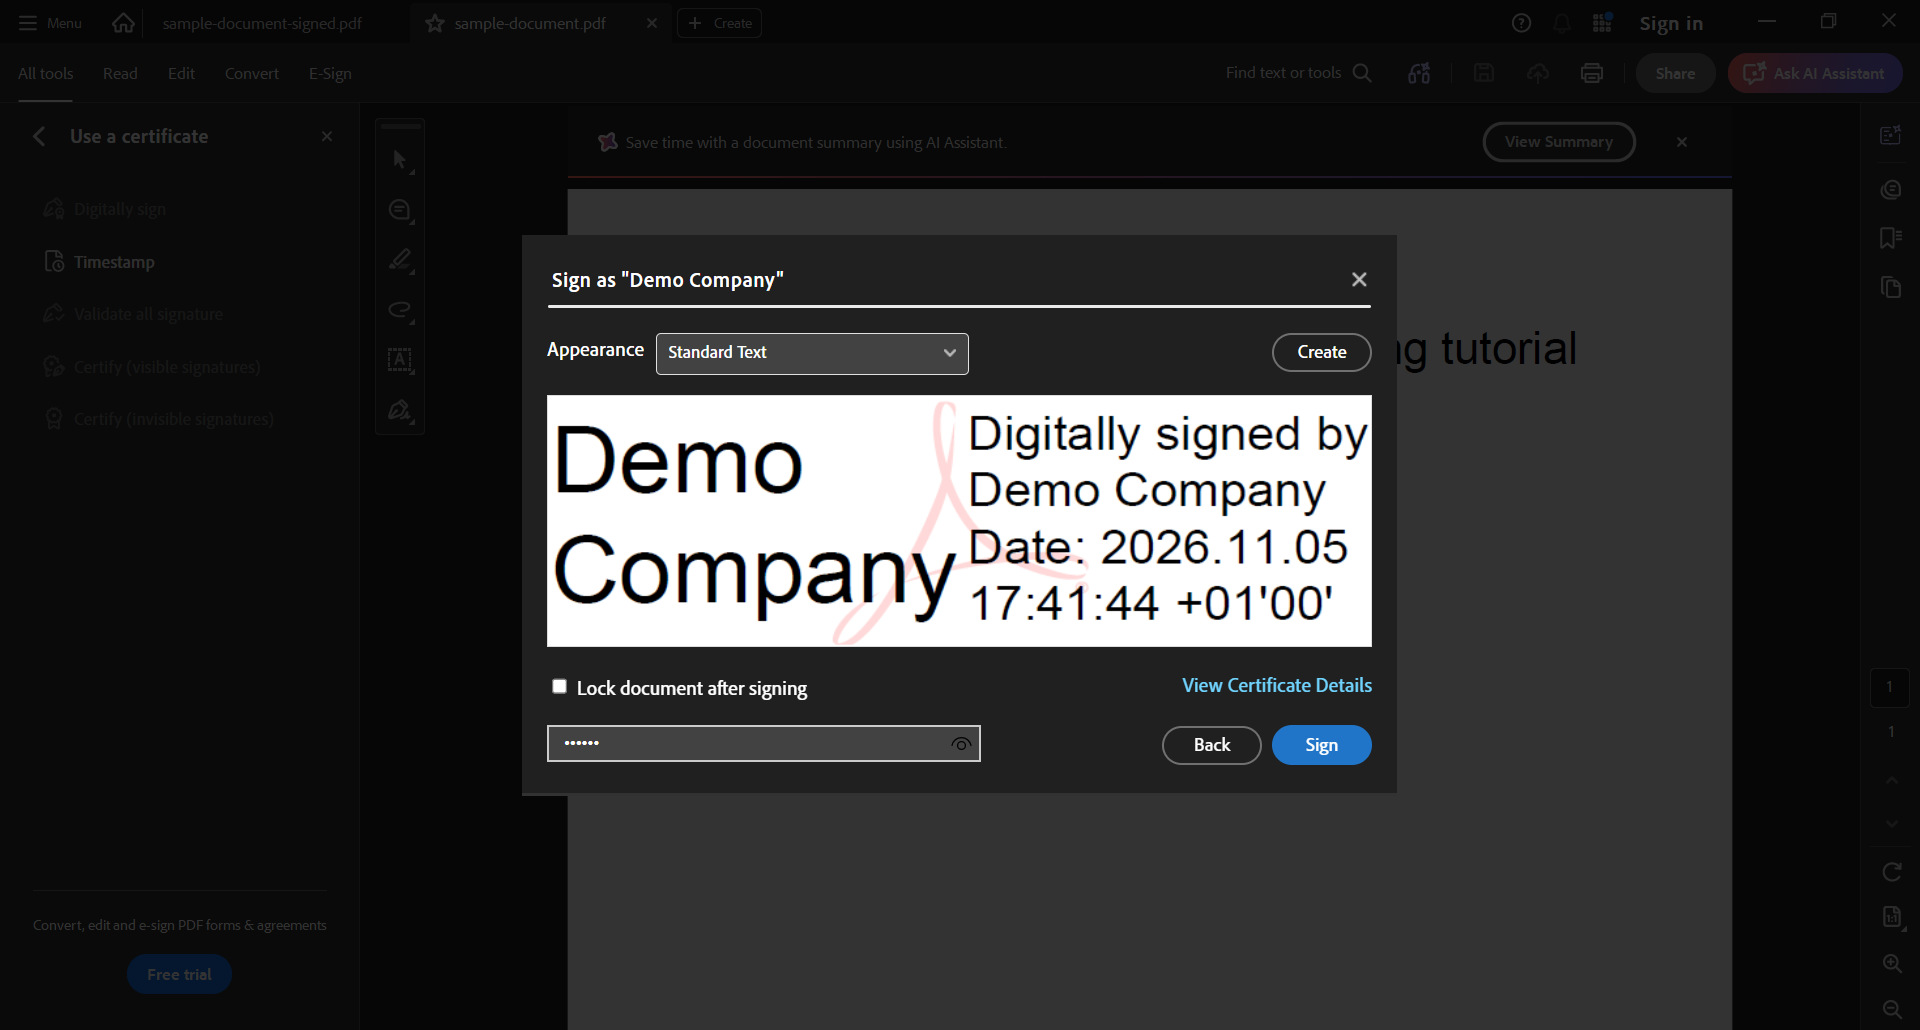
Retype the password you set when you created the Digital ID.
-
Optional: select Lock document after signing to prevent changes after signing.
-
Select Sign.
-
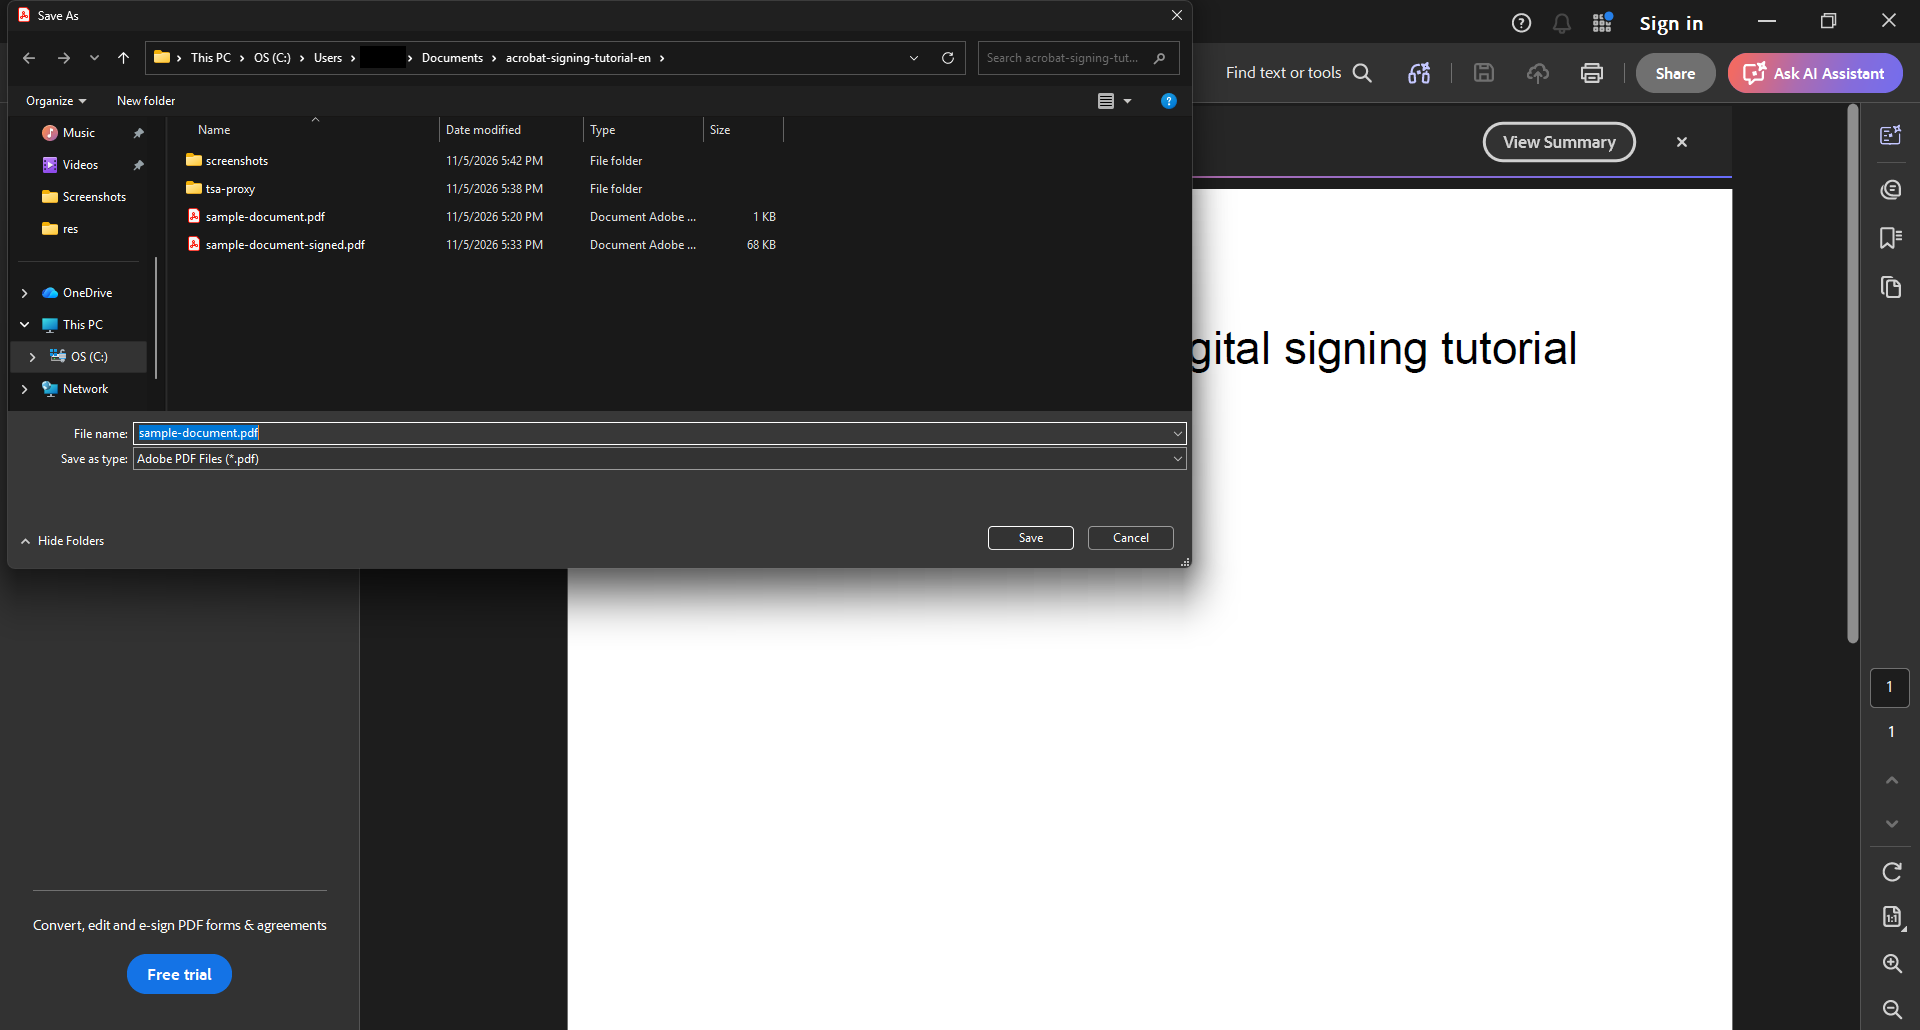
In the save dialog, type a file name such as
sample-document-signed.pdf, then select Save.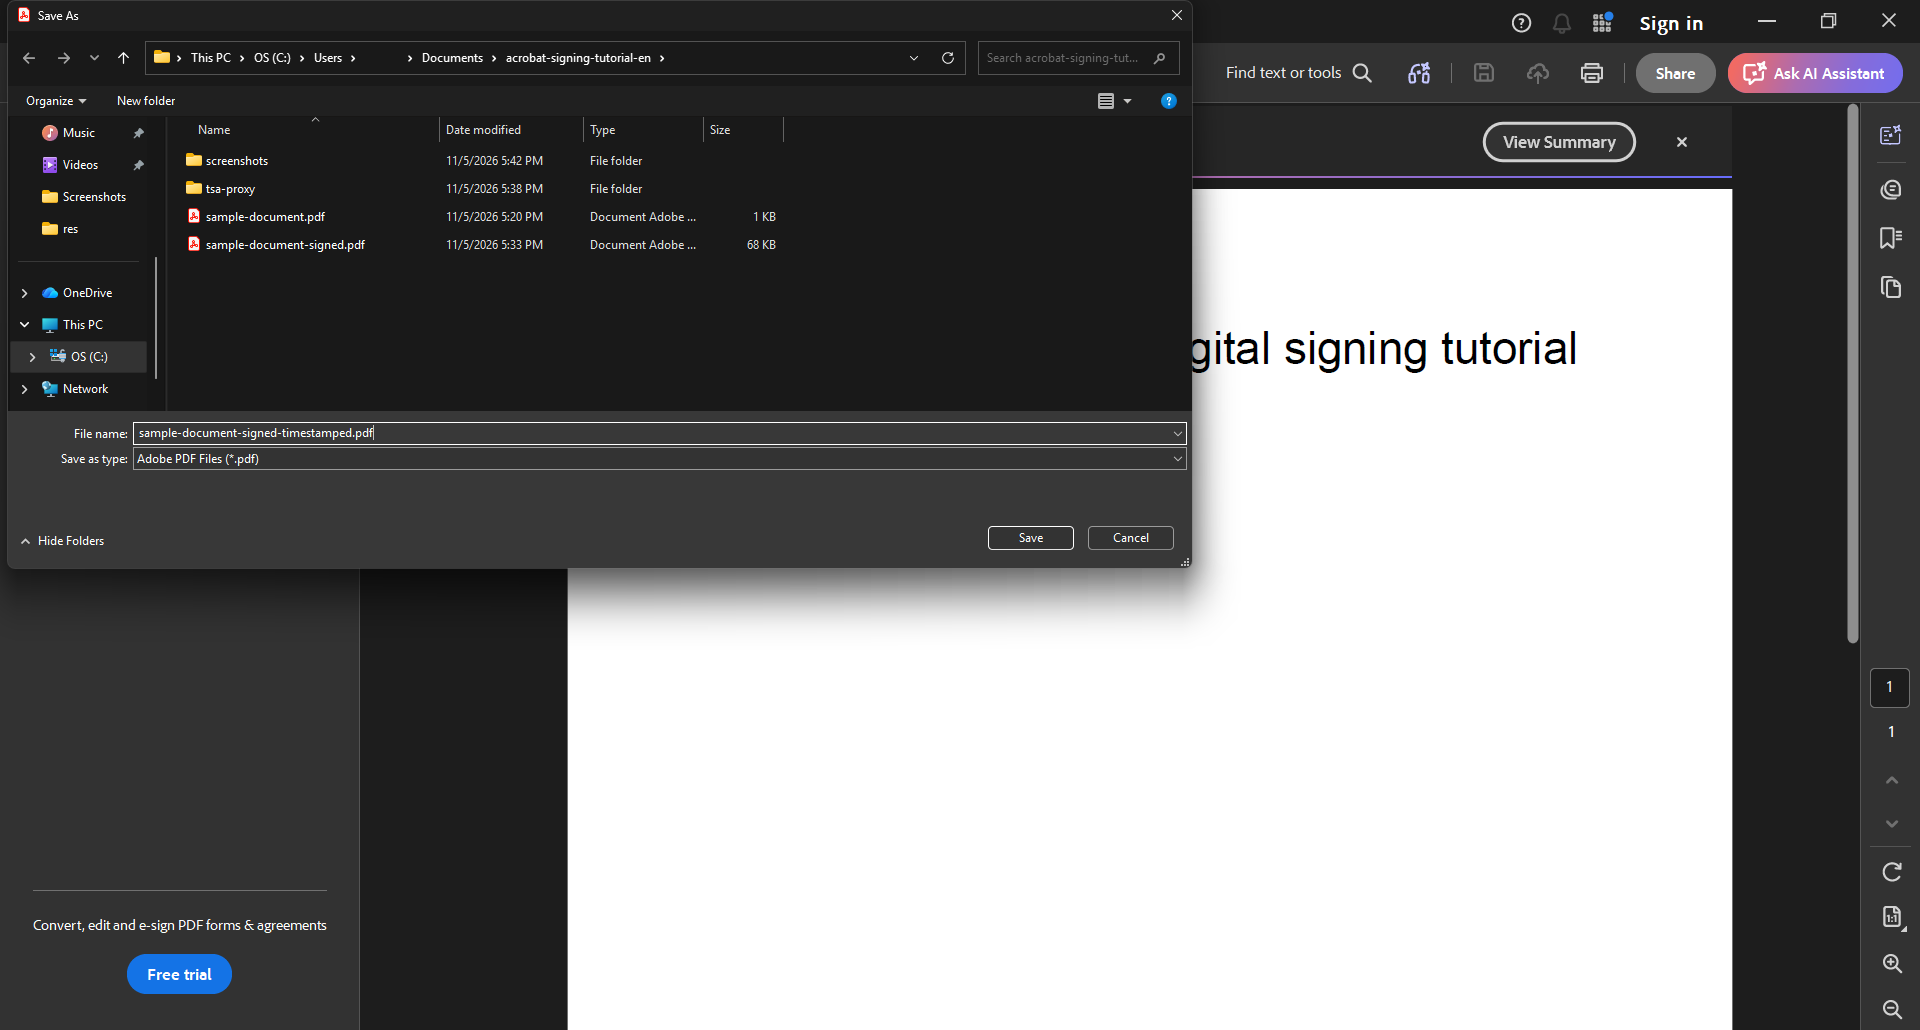
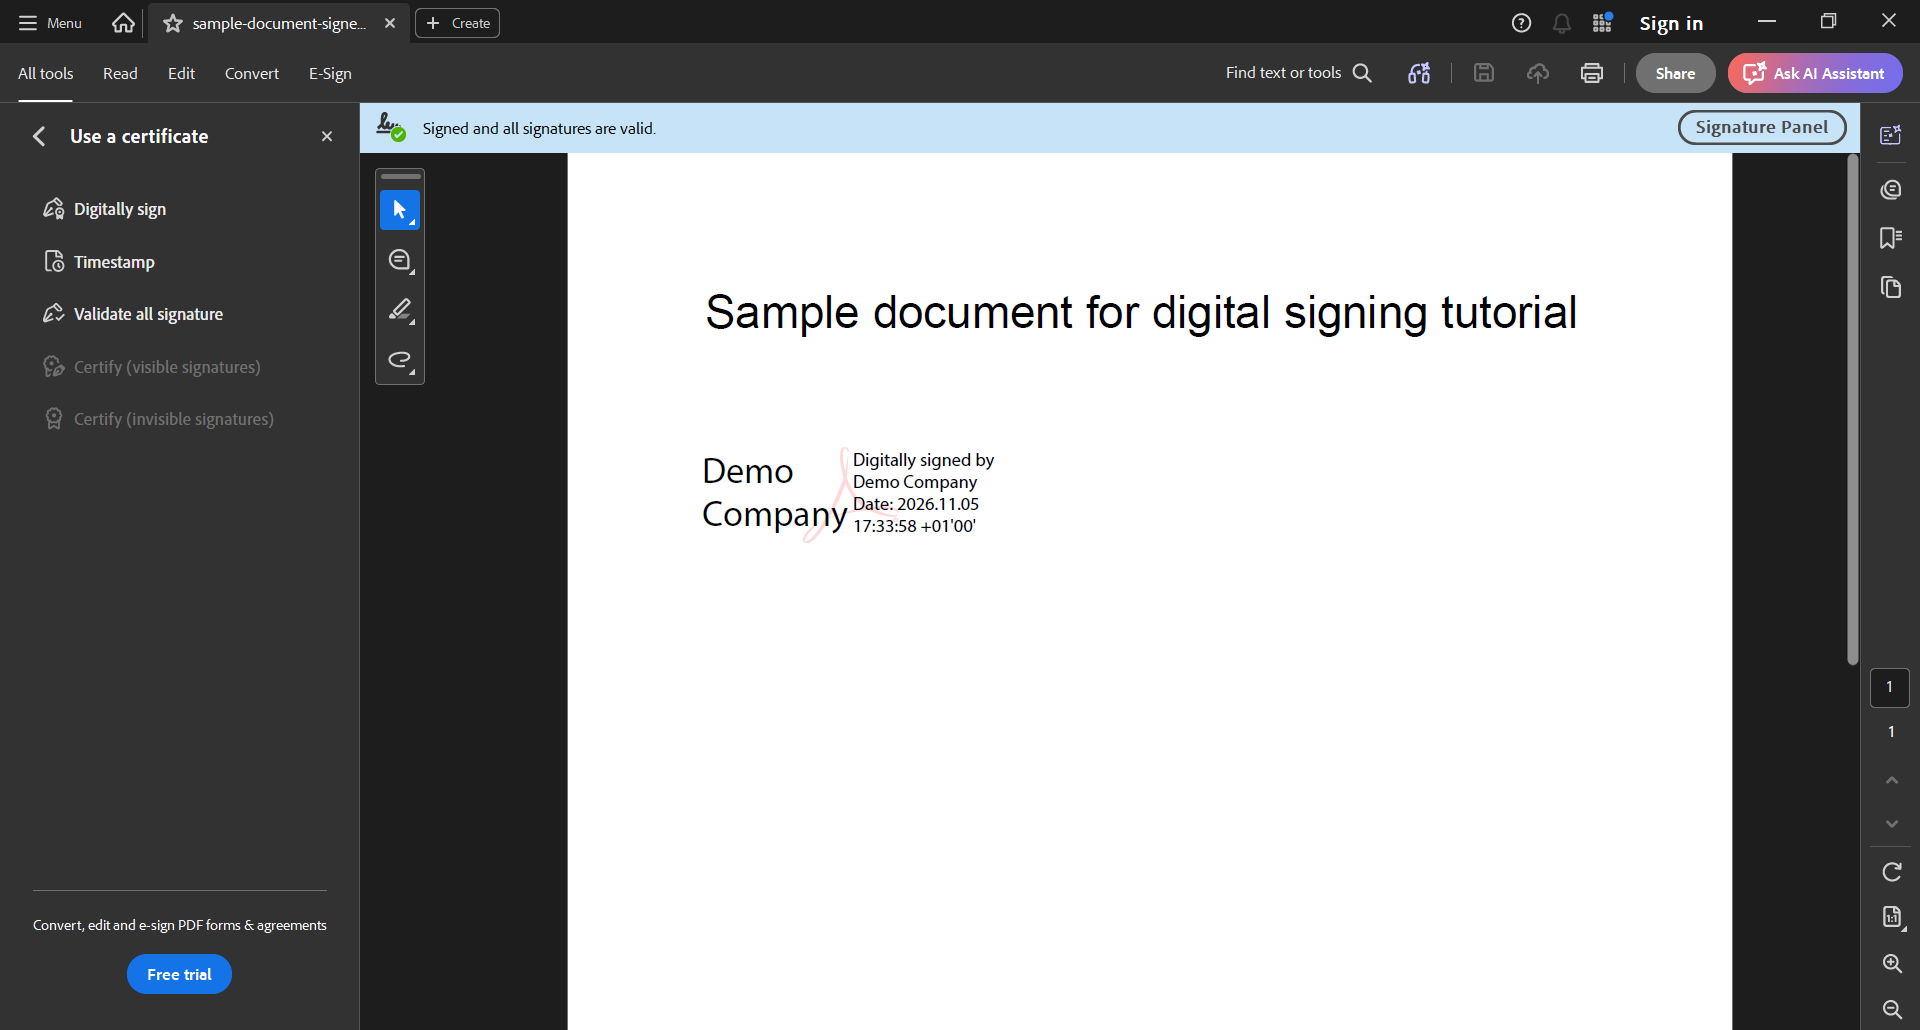
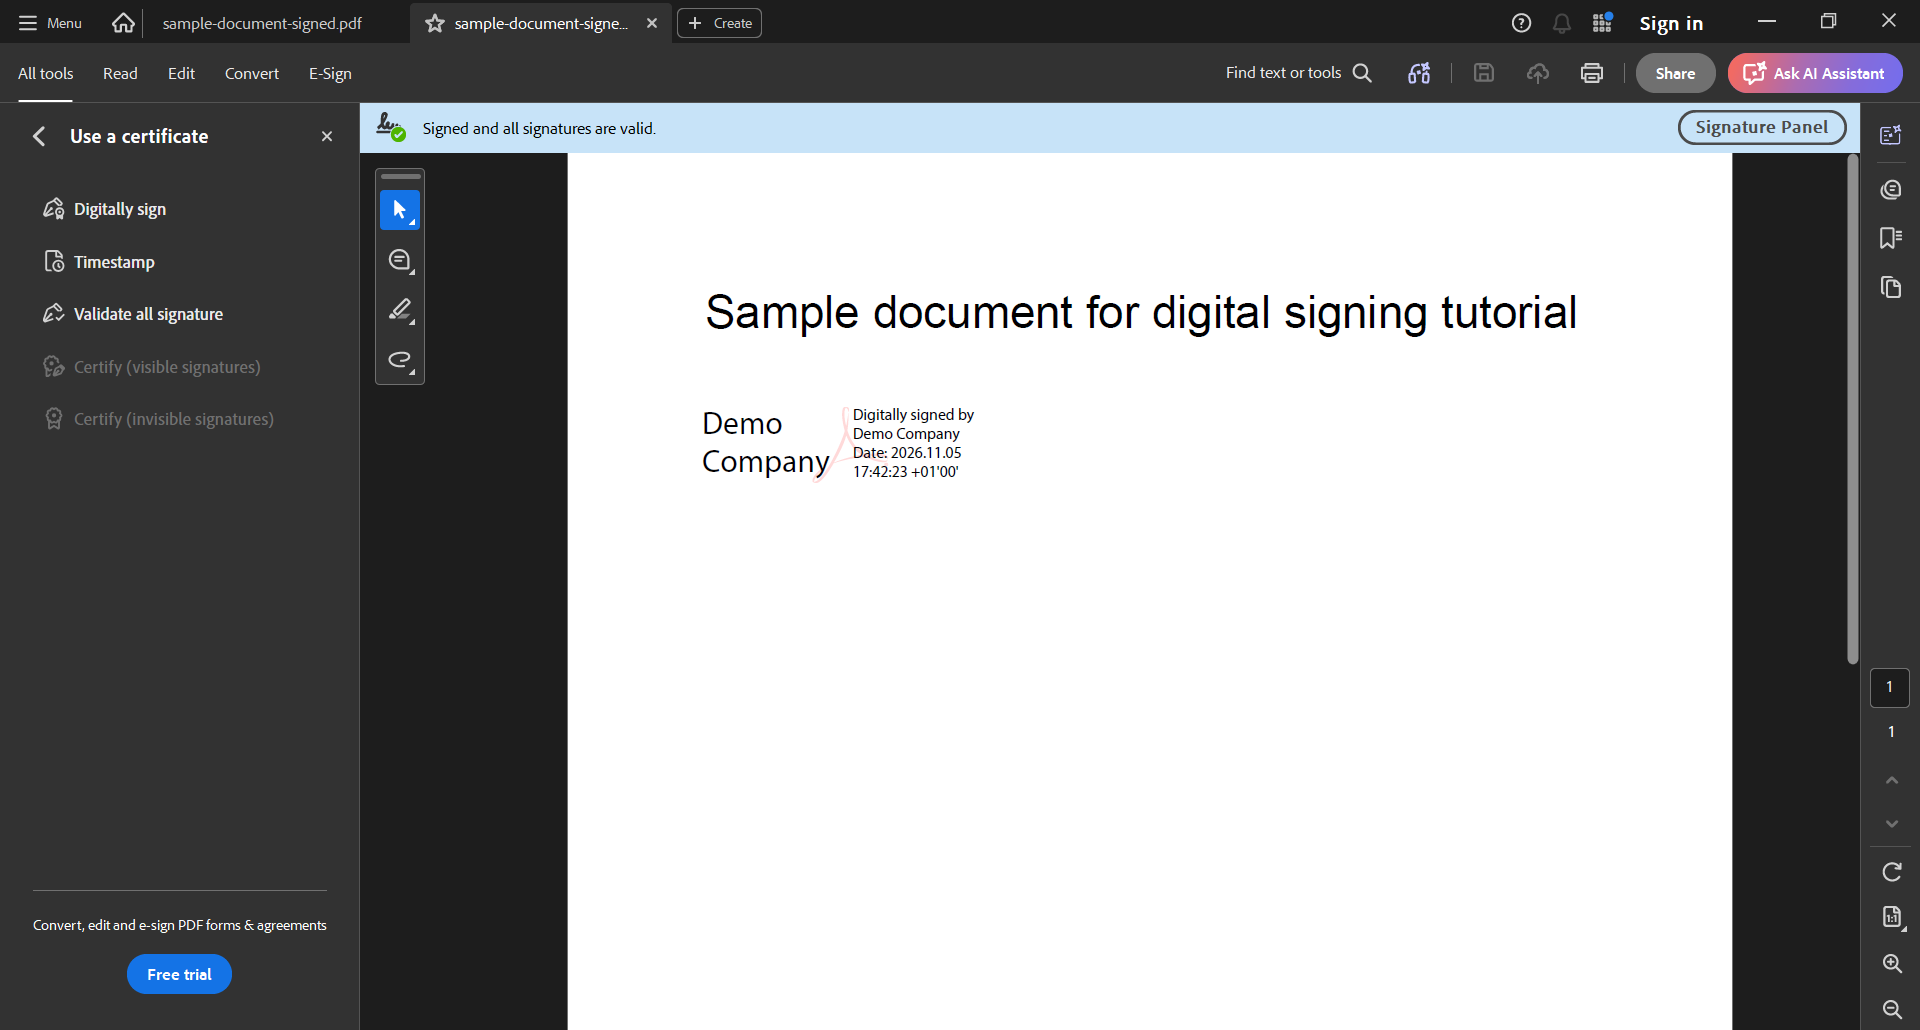
A blue bar at the top reads Signed and all signatures are valid. The signature is visible in the rectangle you drew.
4. Add a timestamp
Part B starts here. You can stop after step 3 if you only wanted to see a signature. Part B needs Docker and an Evidency API key. It uses the Evidency sandbox.
Part B. Chain 2: date. See the recipe.
Acrobat cannot send custom HTTP headers to a timestamp server, so it needs the nginx proxy that adds the X-API-KEY header. Start it as described in the timestamp proxy tutorial and confirm it answers at http://localhost:8089/. Then point Acrobat at it:
-
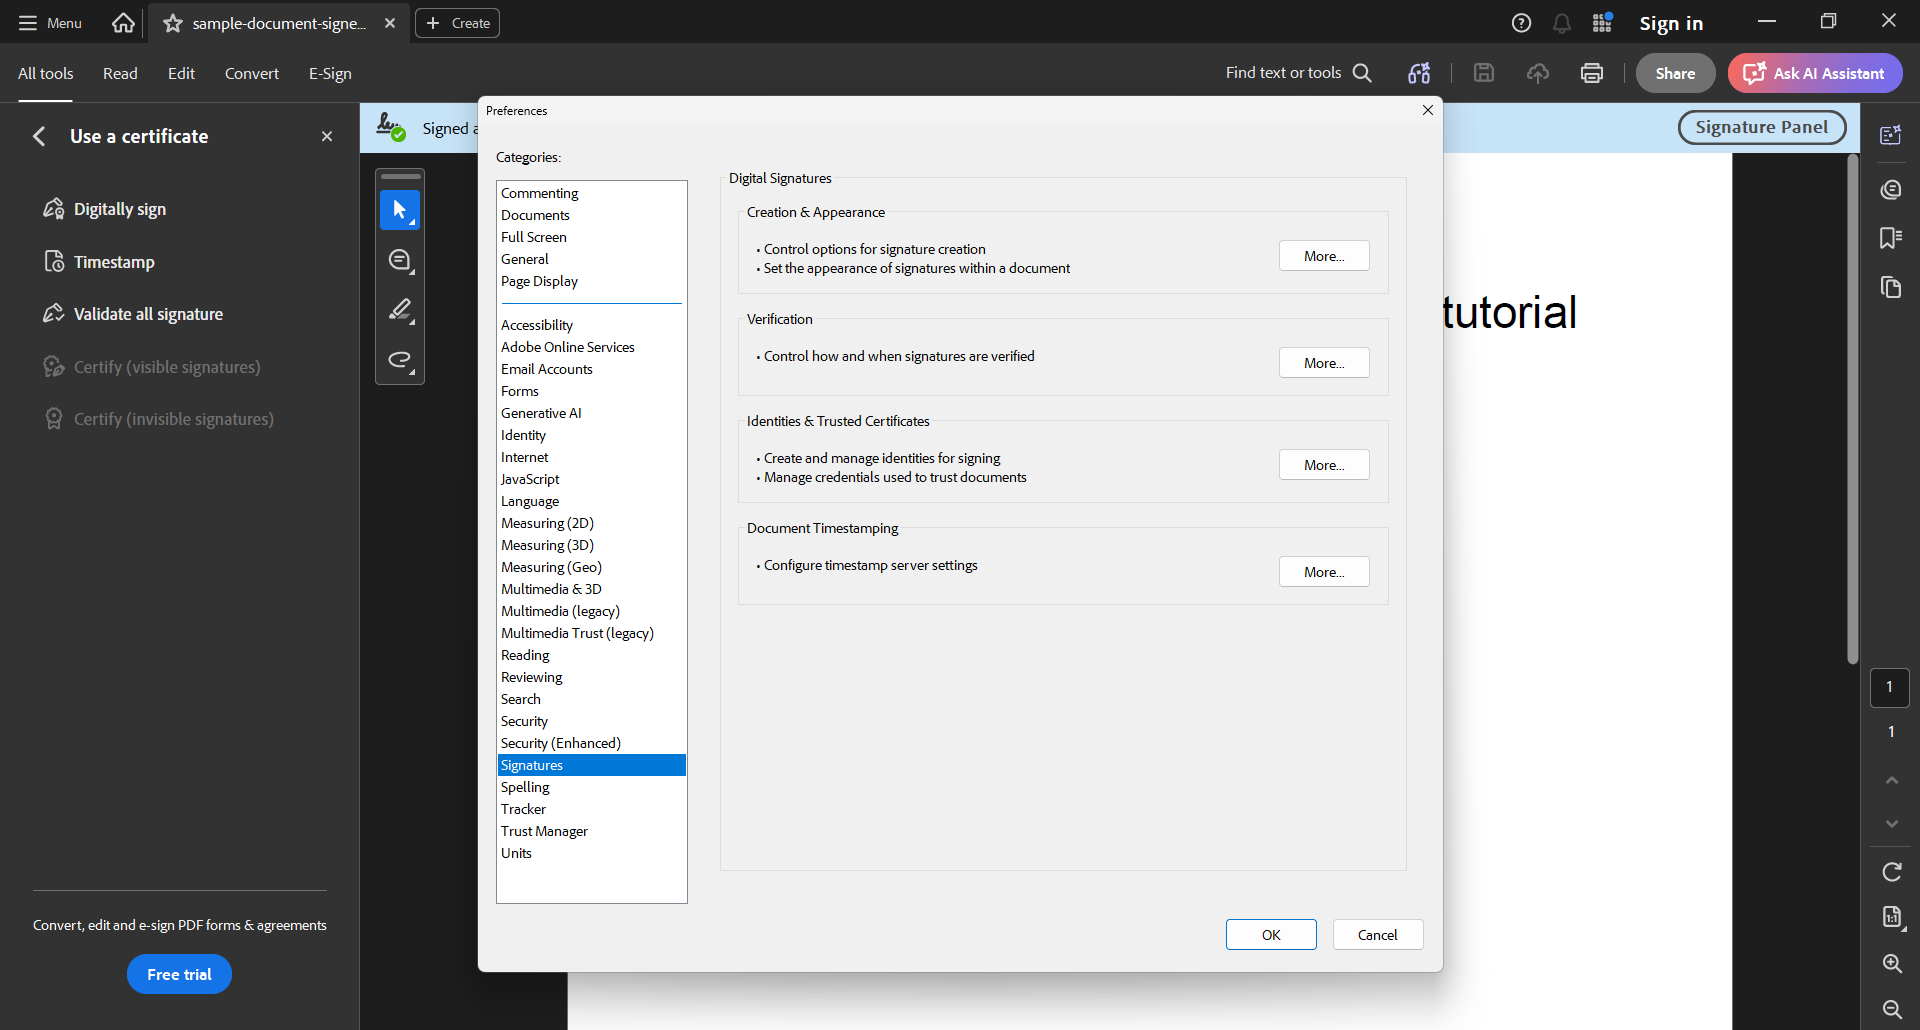
Press Ctrl+K to open Preferences. Select Signatures. Under Document Timestamping, select More.
-
Under Time Stamp Servers, select New. Enter the name
Evidency-sandbox-proxyand the server URLhttp://localhost:8089/. Leave the login options unchecked, then select OK.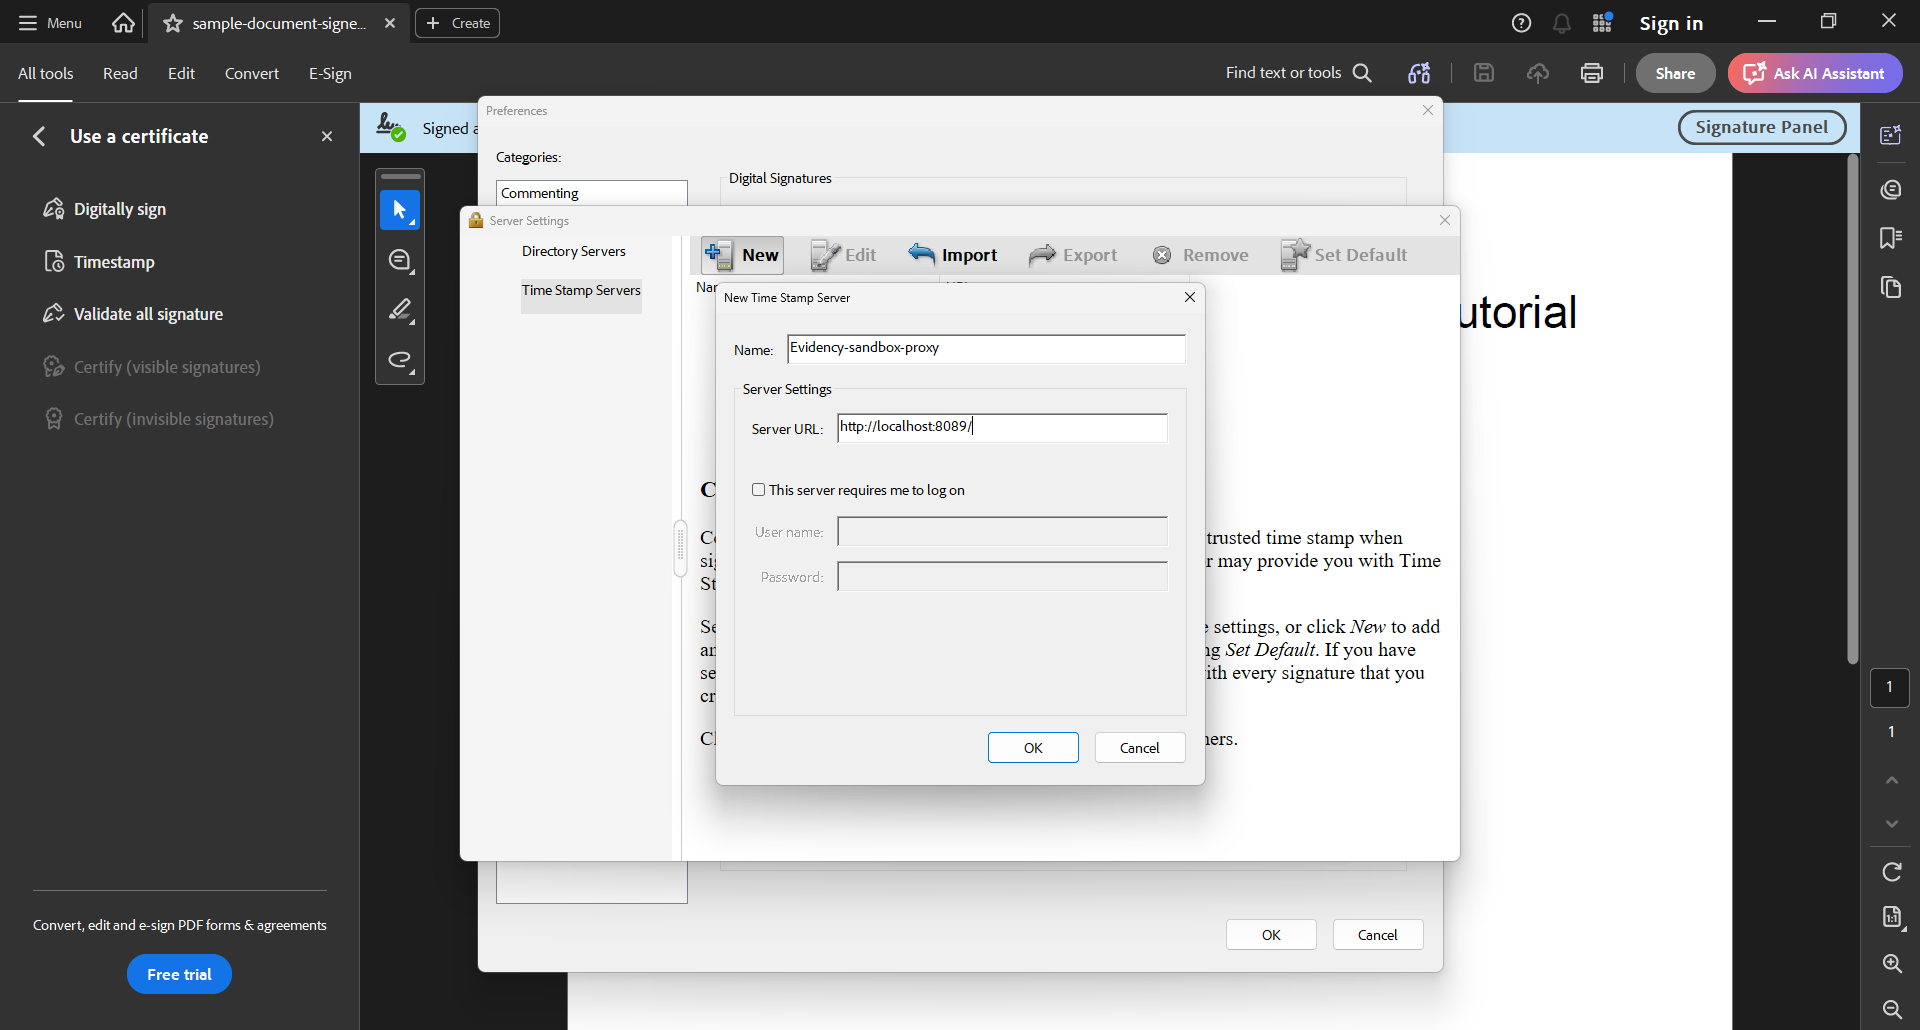
-
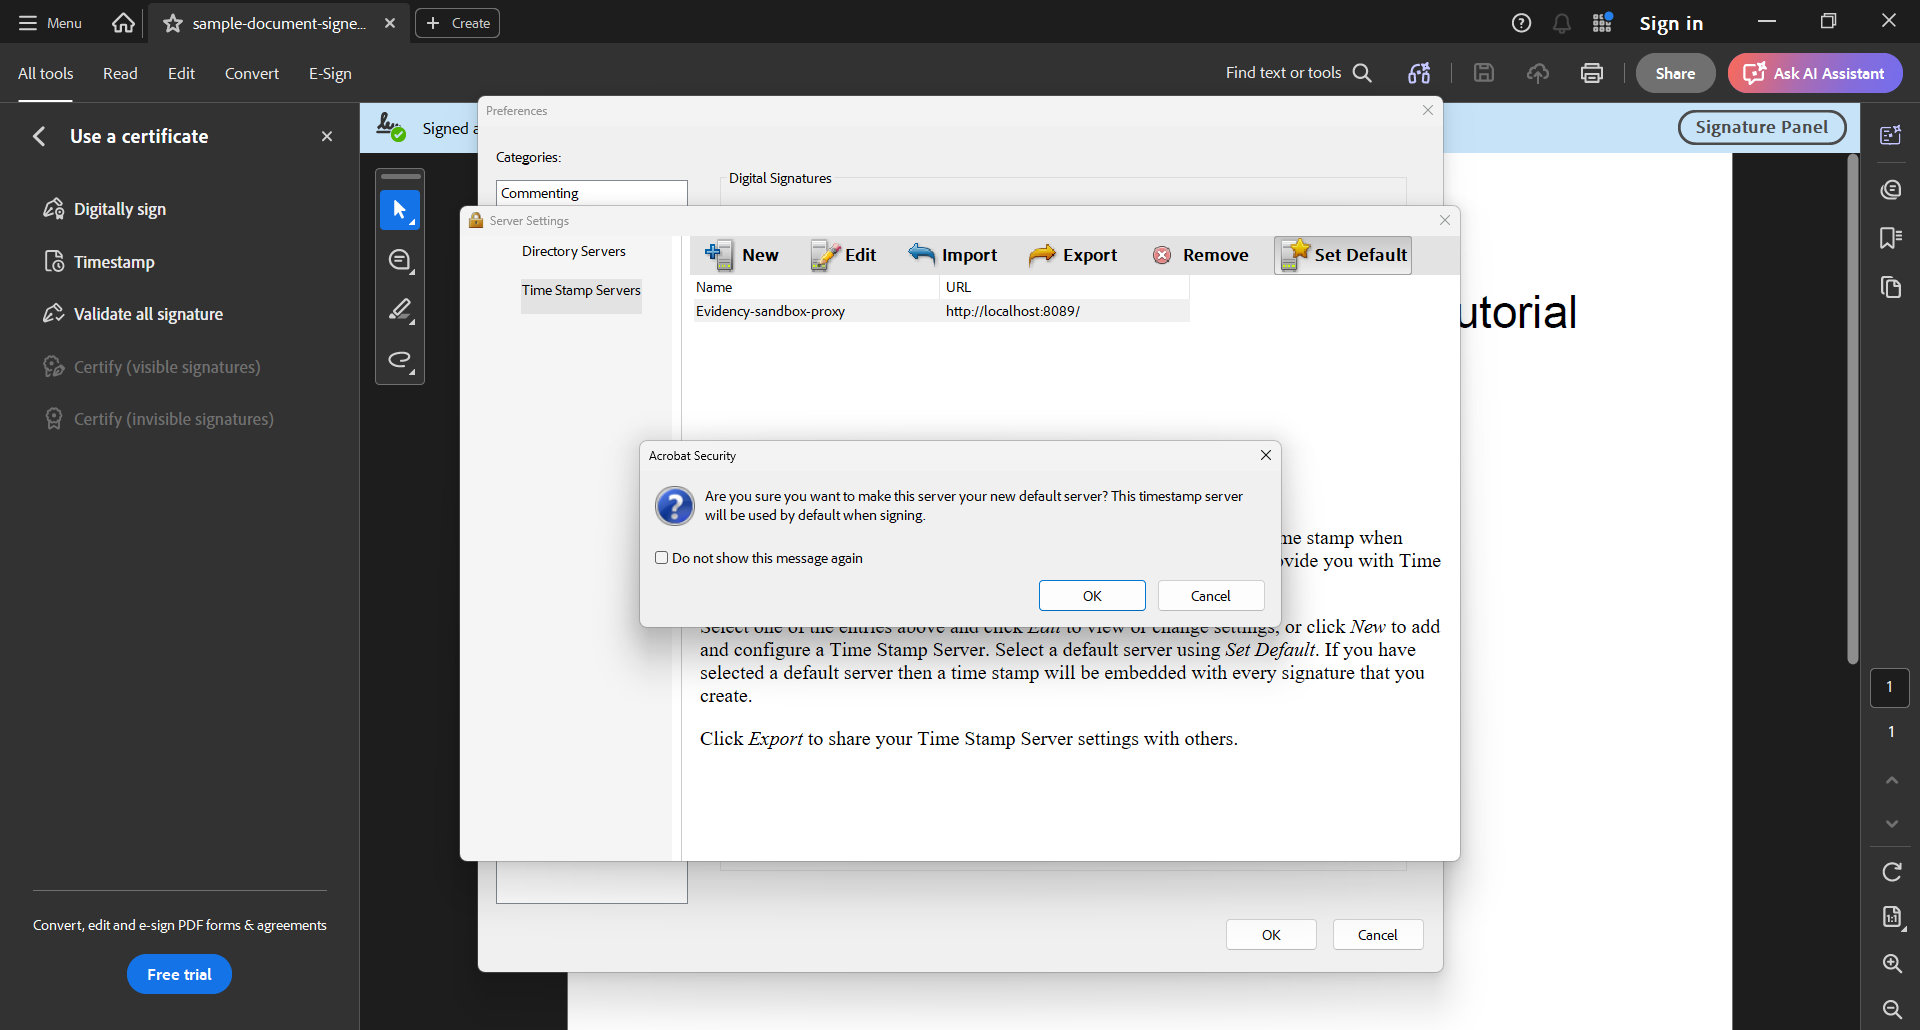
Select the new server, then Set Default. Select OK on the Acrobat Security confirmation, then OK to close Preferences.
Now repeat the signing flow from step 3 on an unsigned copy of the PDF, and save it as sample-document-signed-timestamped.pdf. The timestamp is requested when you save. Acrobat asks whether the document may connect to http://localhost:8089/: tick Remember this action for this site for all PDF documents, then select Allow.
5. Check the result
The blue bar still reads Signed and all signatures are valid. Open the Signatures panel, select the signature and open Signature Properties: it should list a timestamp. This is the integrity and date chain of the recipe, shown on one signature. For the same checks on a real setup, see the verification step of the DocuSeal tutorial.